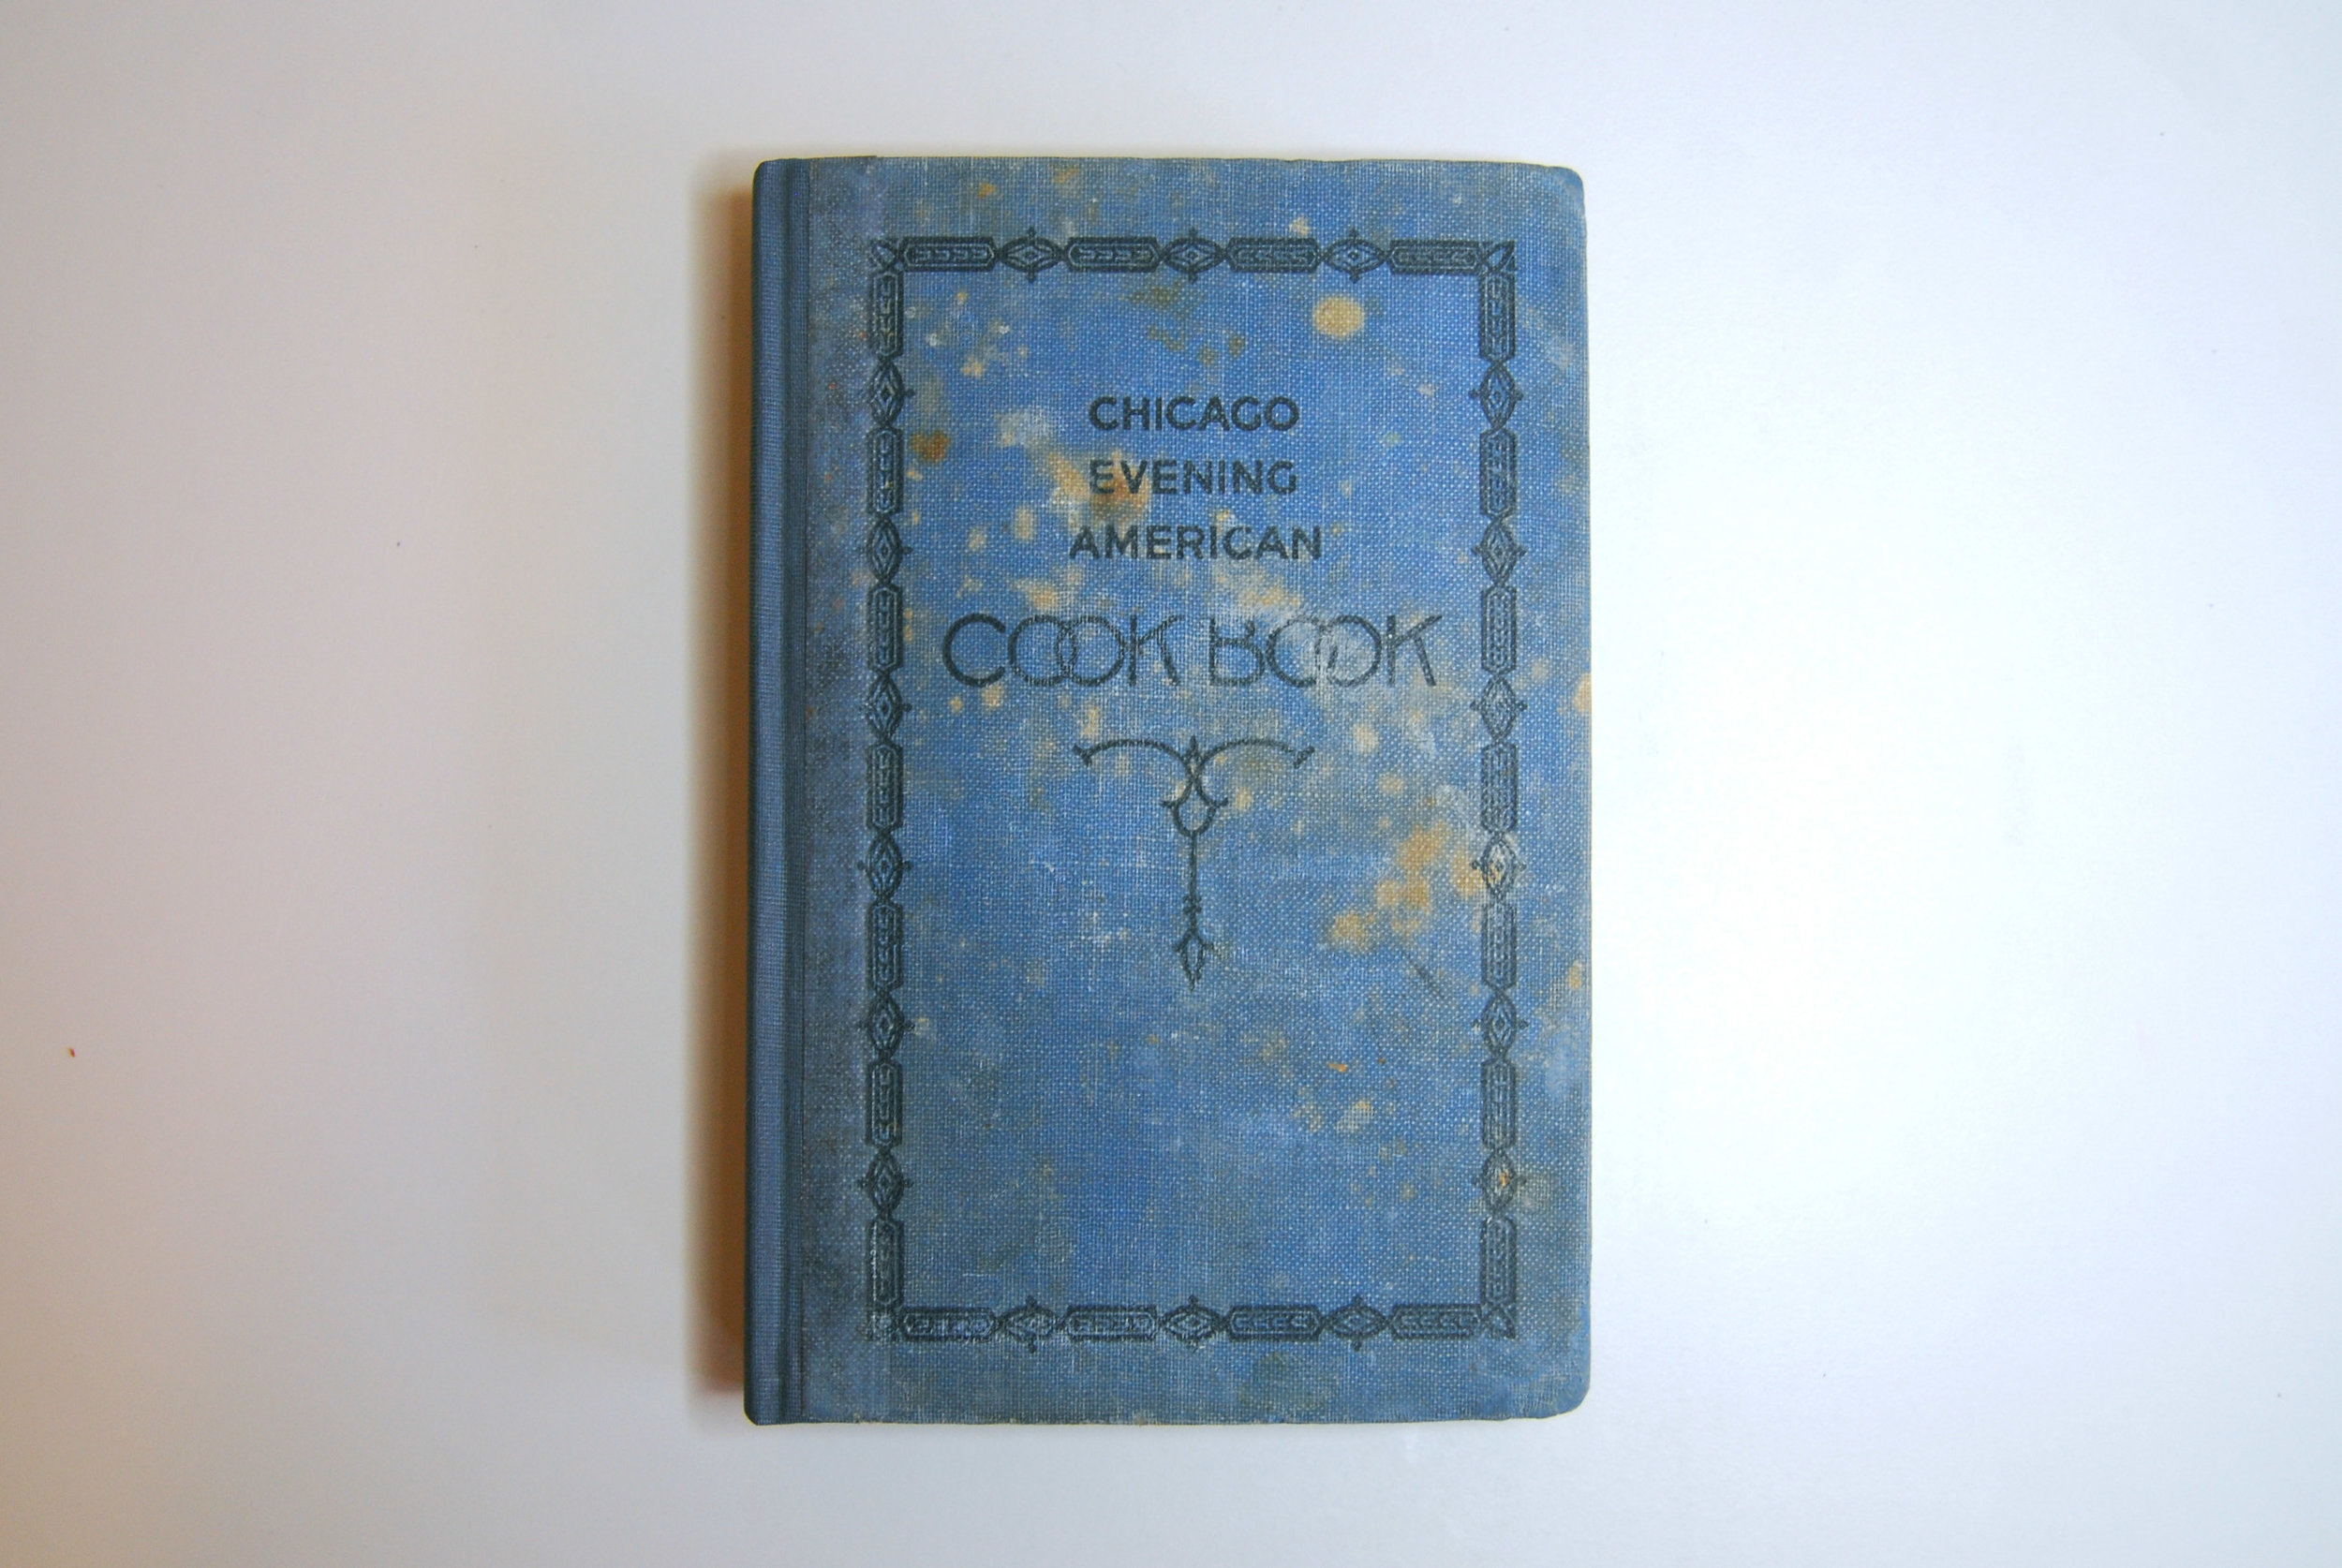
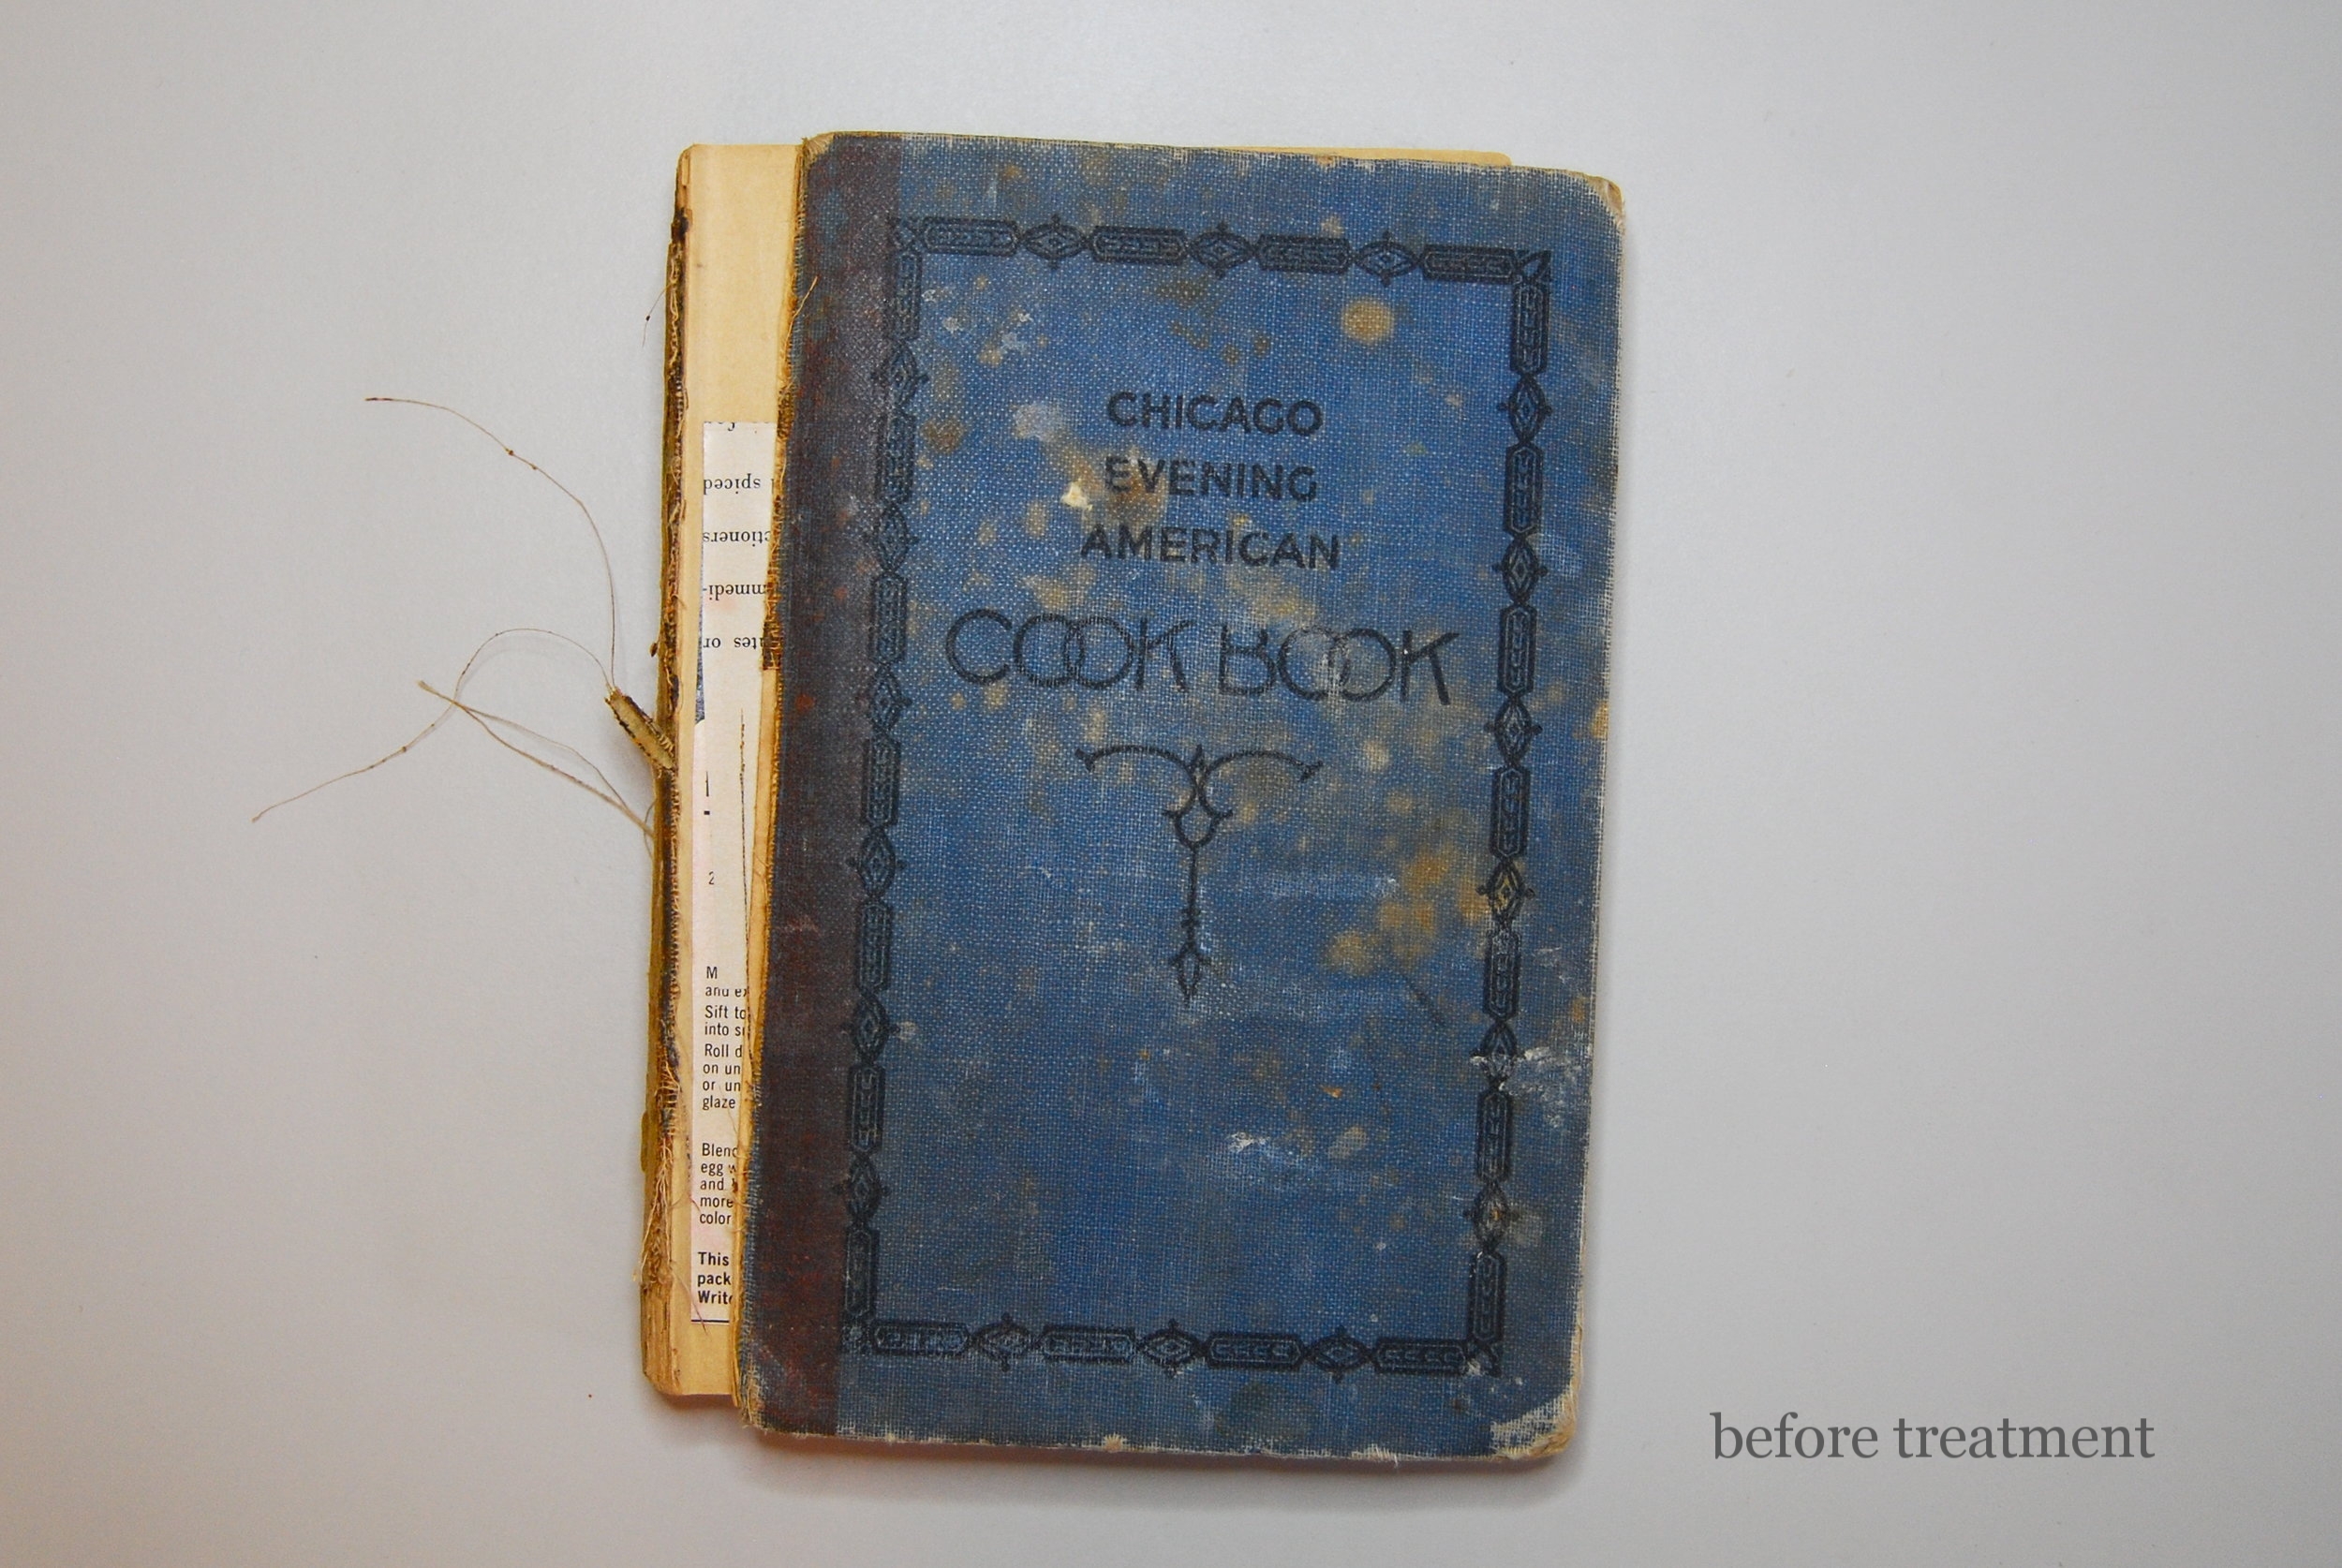
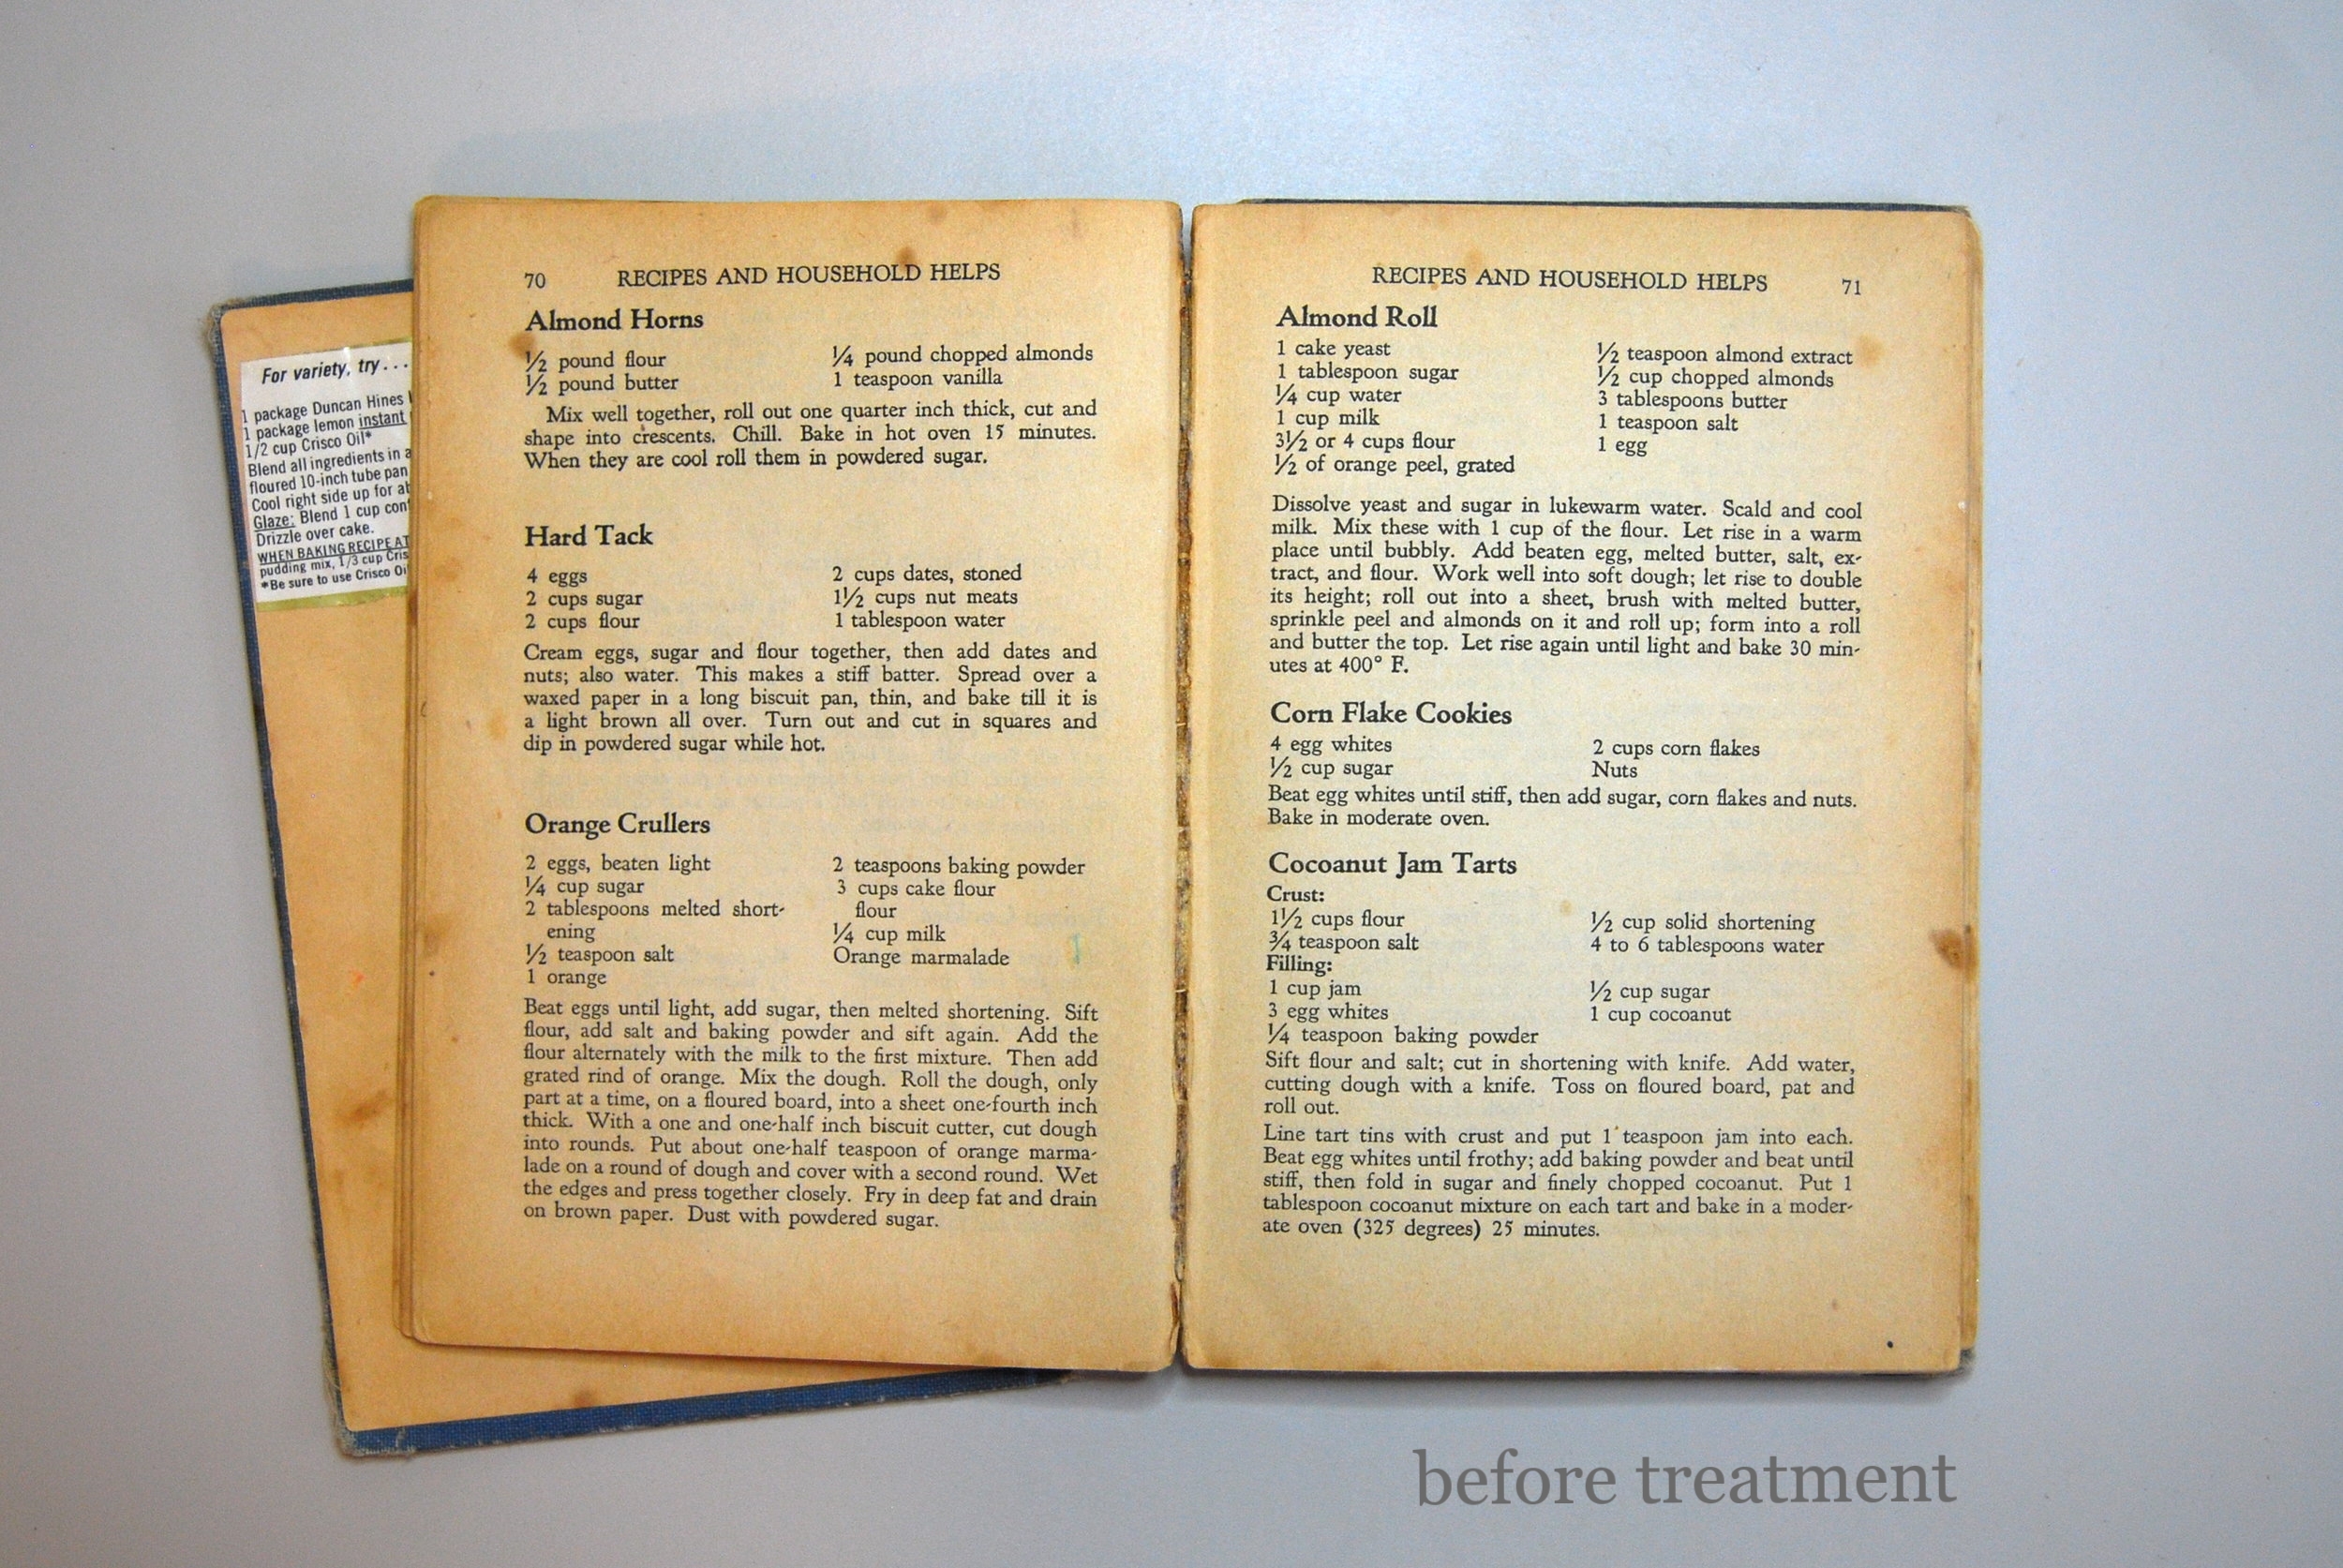
As a self-proclaimed foodie and lover of well-used cookbooks, it was a real *treat* to work on my latest commissioned repair. The Chicago Evening American Cookbook is, as the title page declares, "A Book of Practical Recipes for the Housewife". Printed in Chicago through Evening American Publication Co. The book lacks a publication date, but through some information wrangling and the Library of Congress, I was able to find out that the Chicago Evening American was a daily (except Sunday) newspaper published in Cook County, Illinois from 1914–1939. And according to Cookbook Village, the 700 recipes in this publication were compiled by the newspaper.
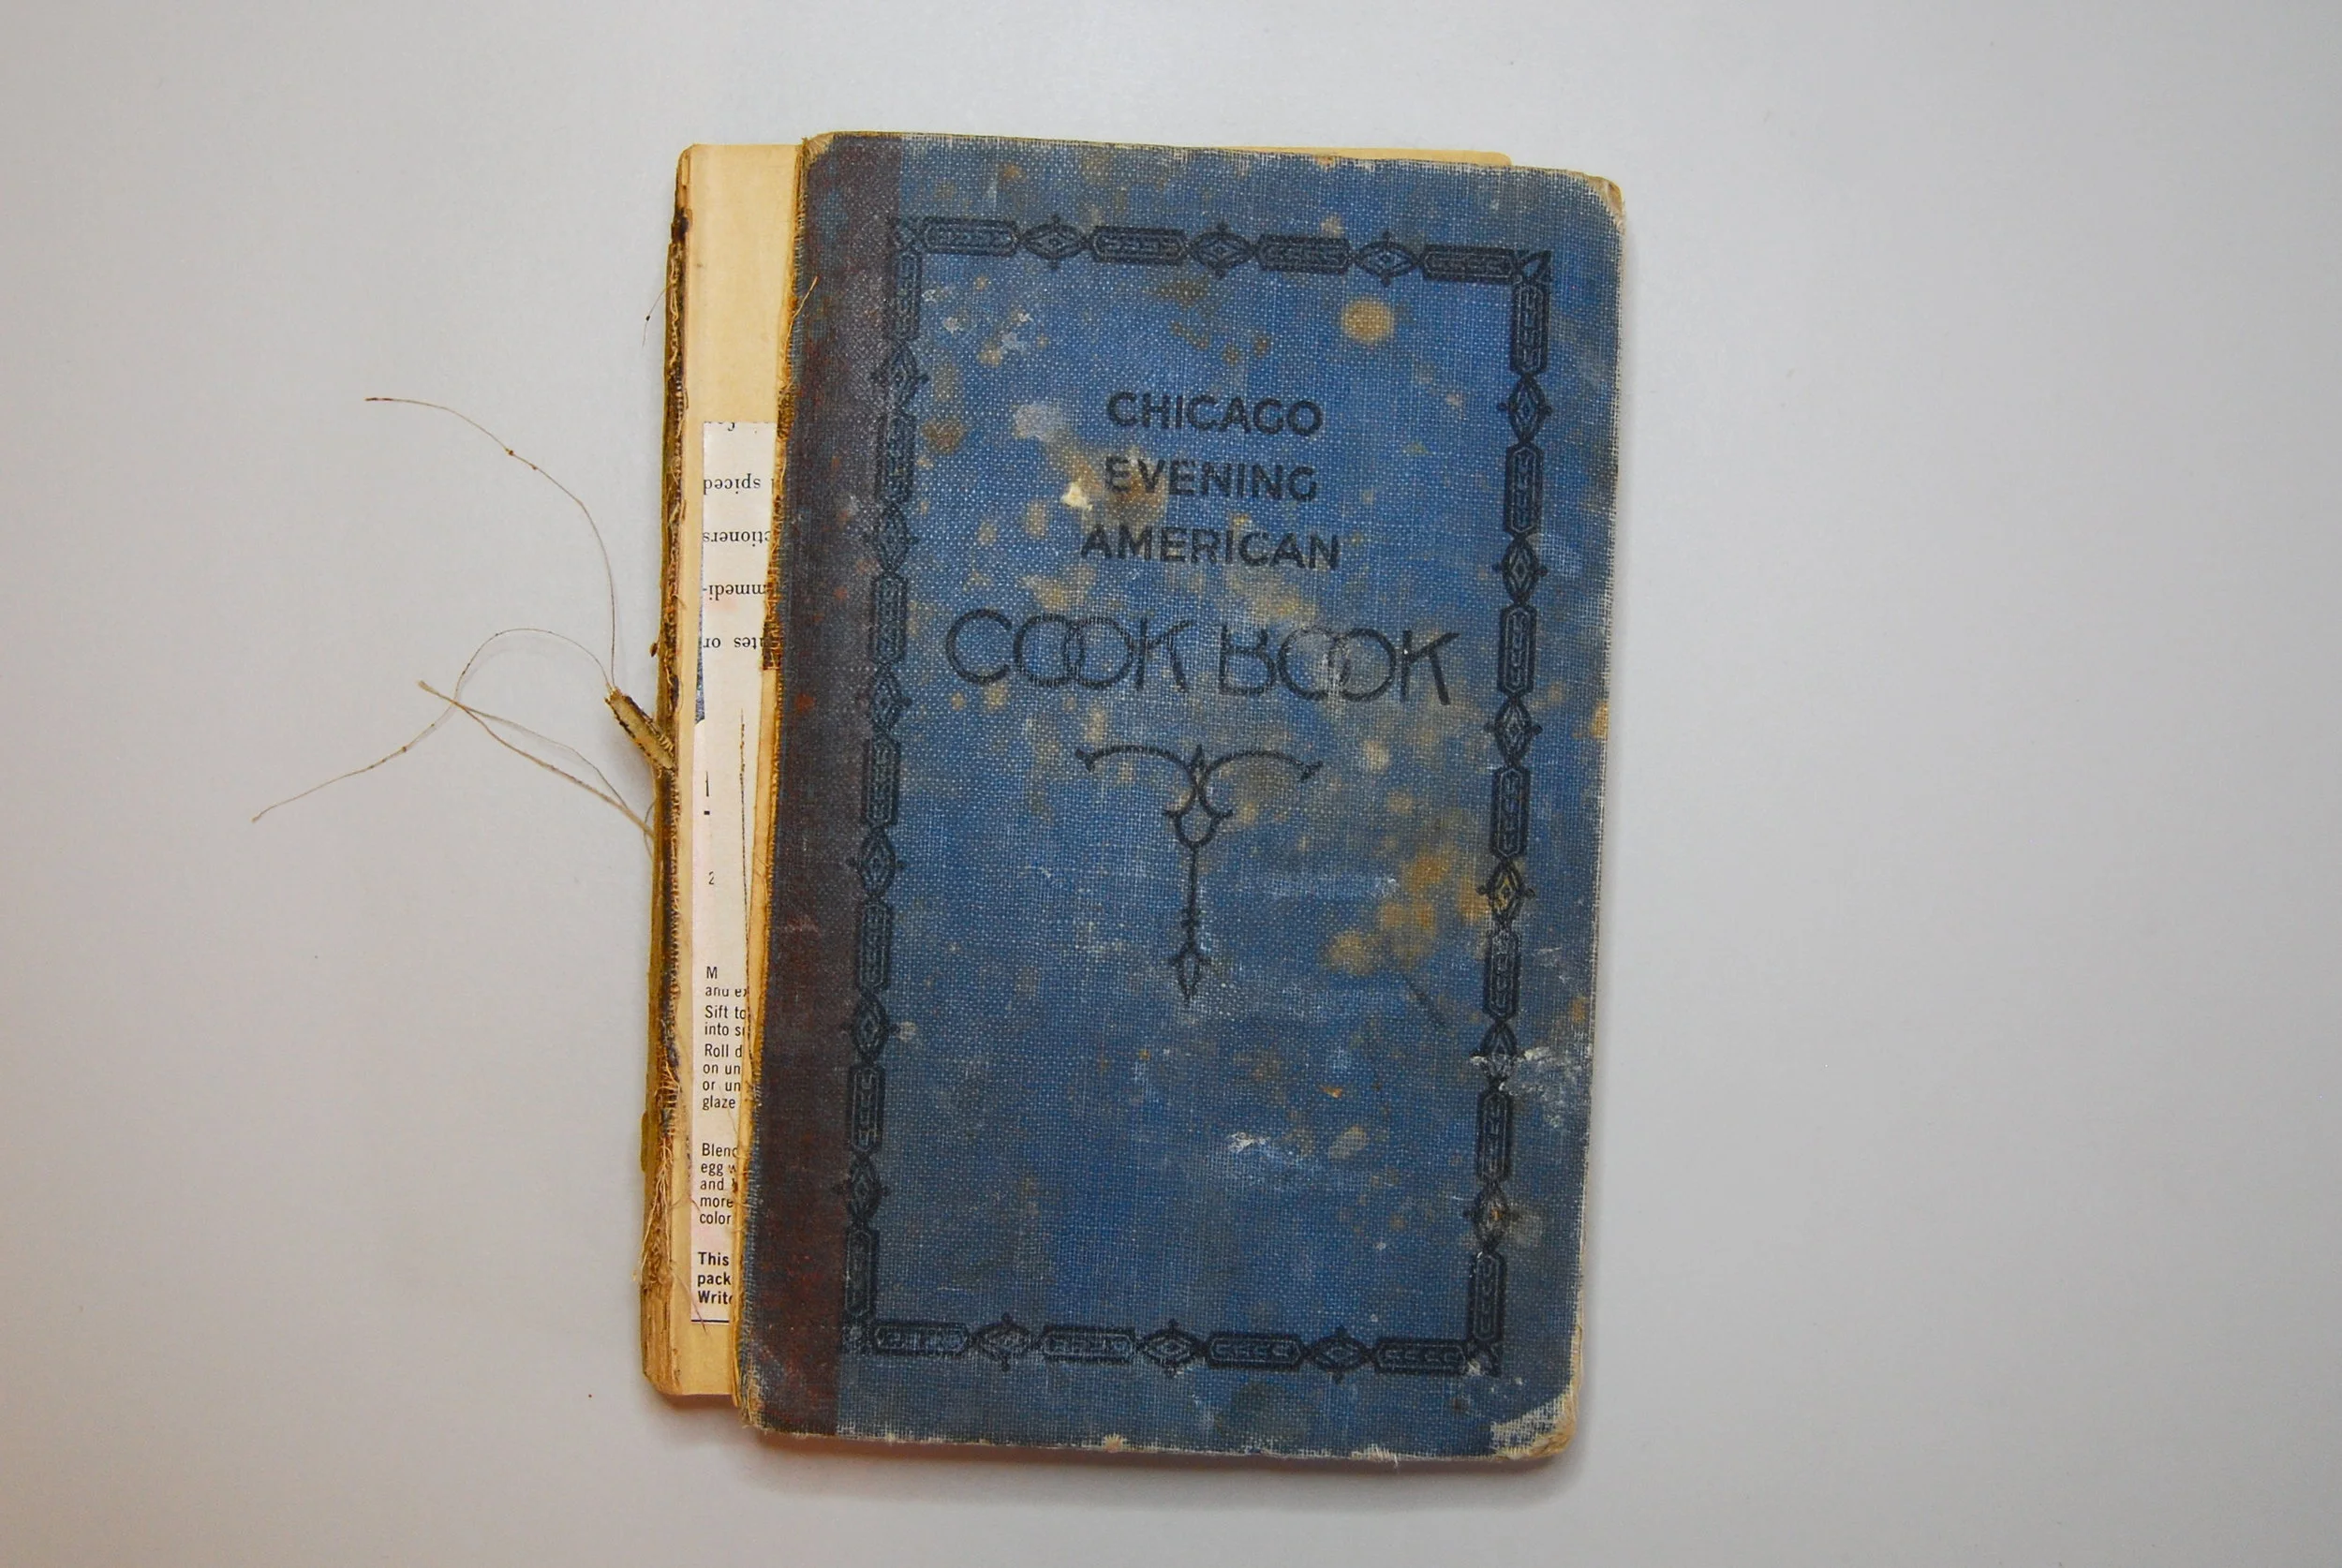
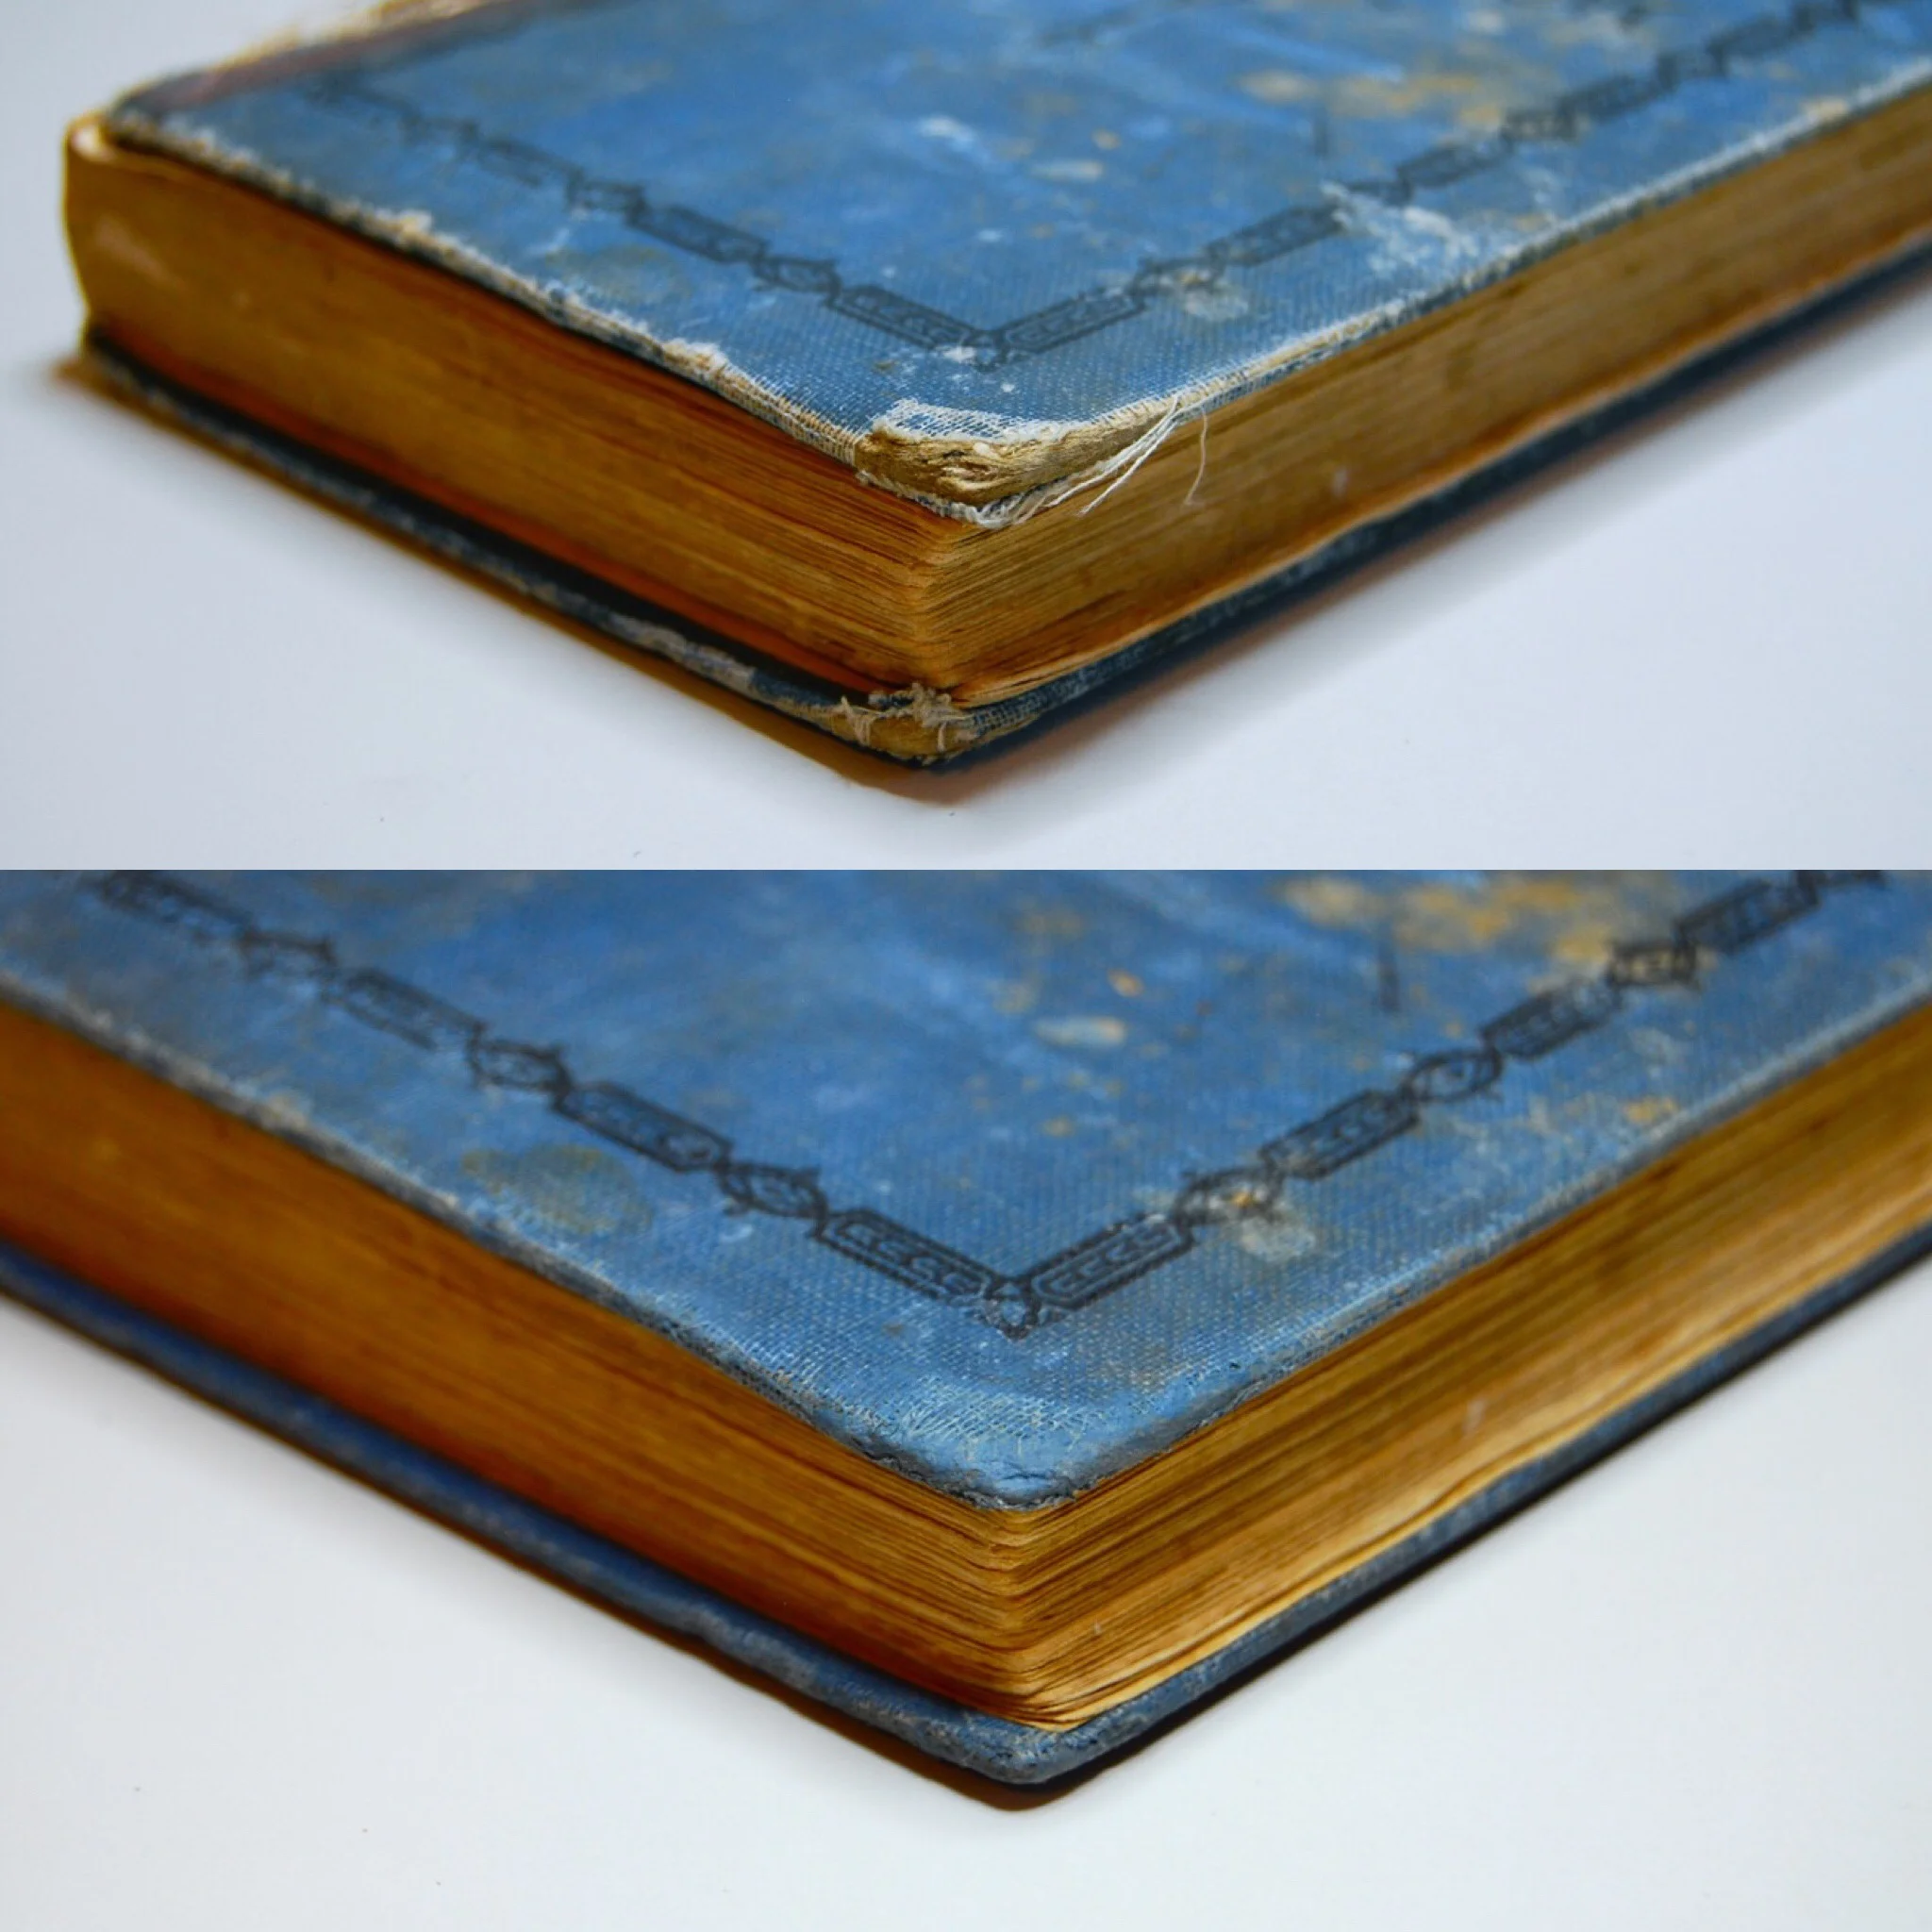
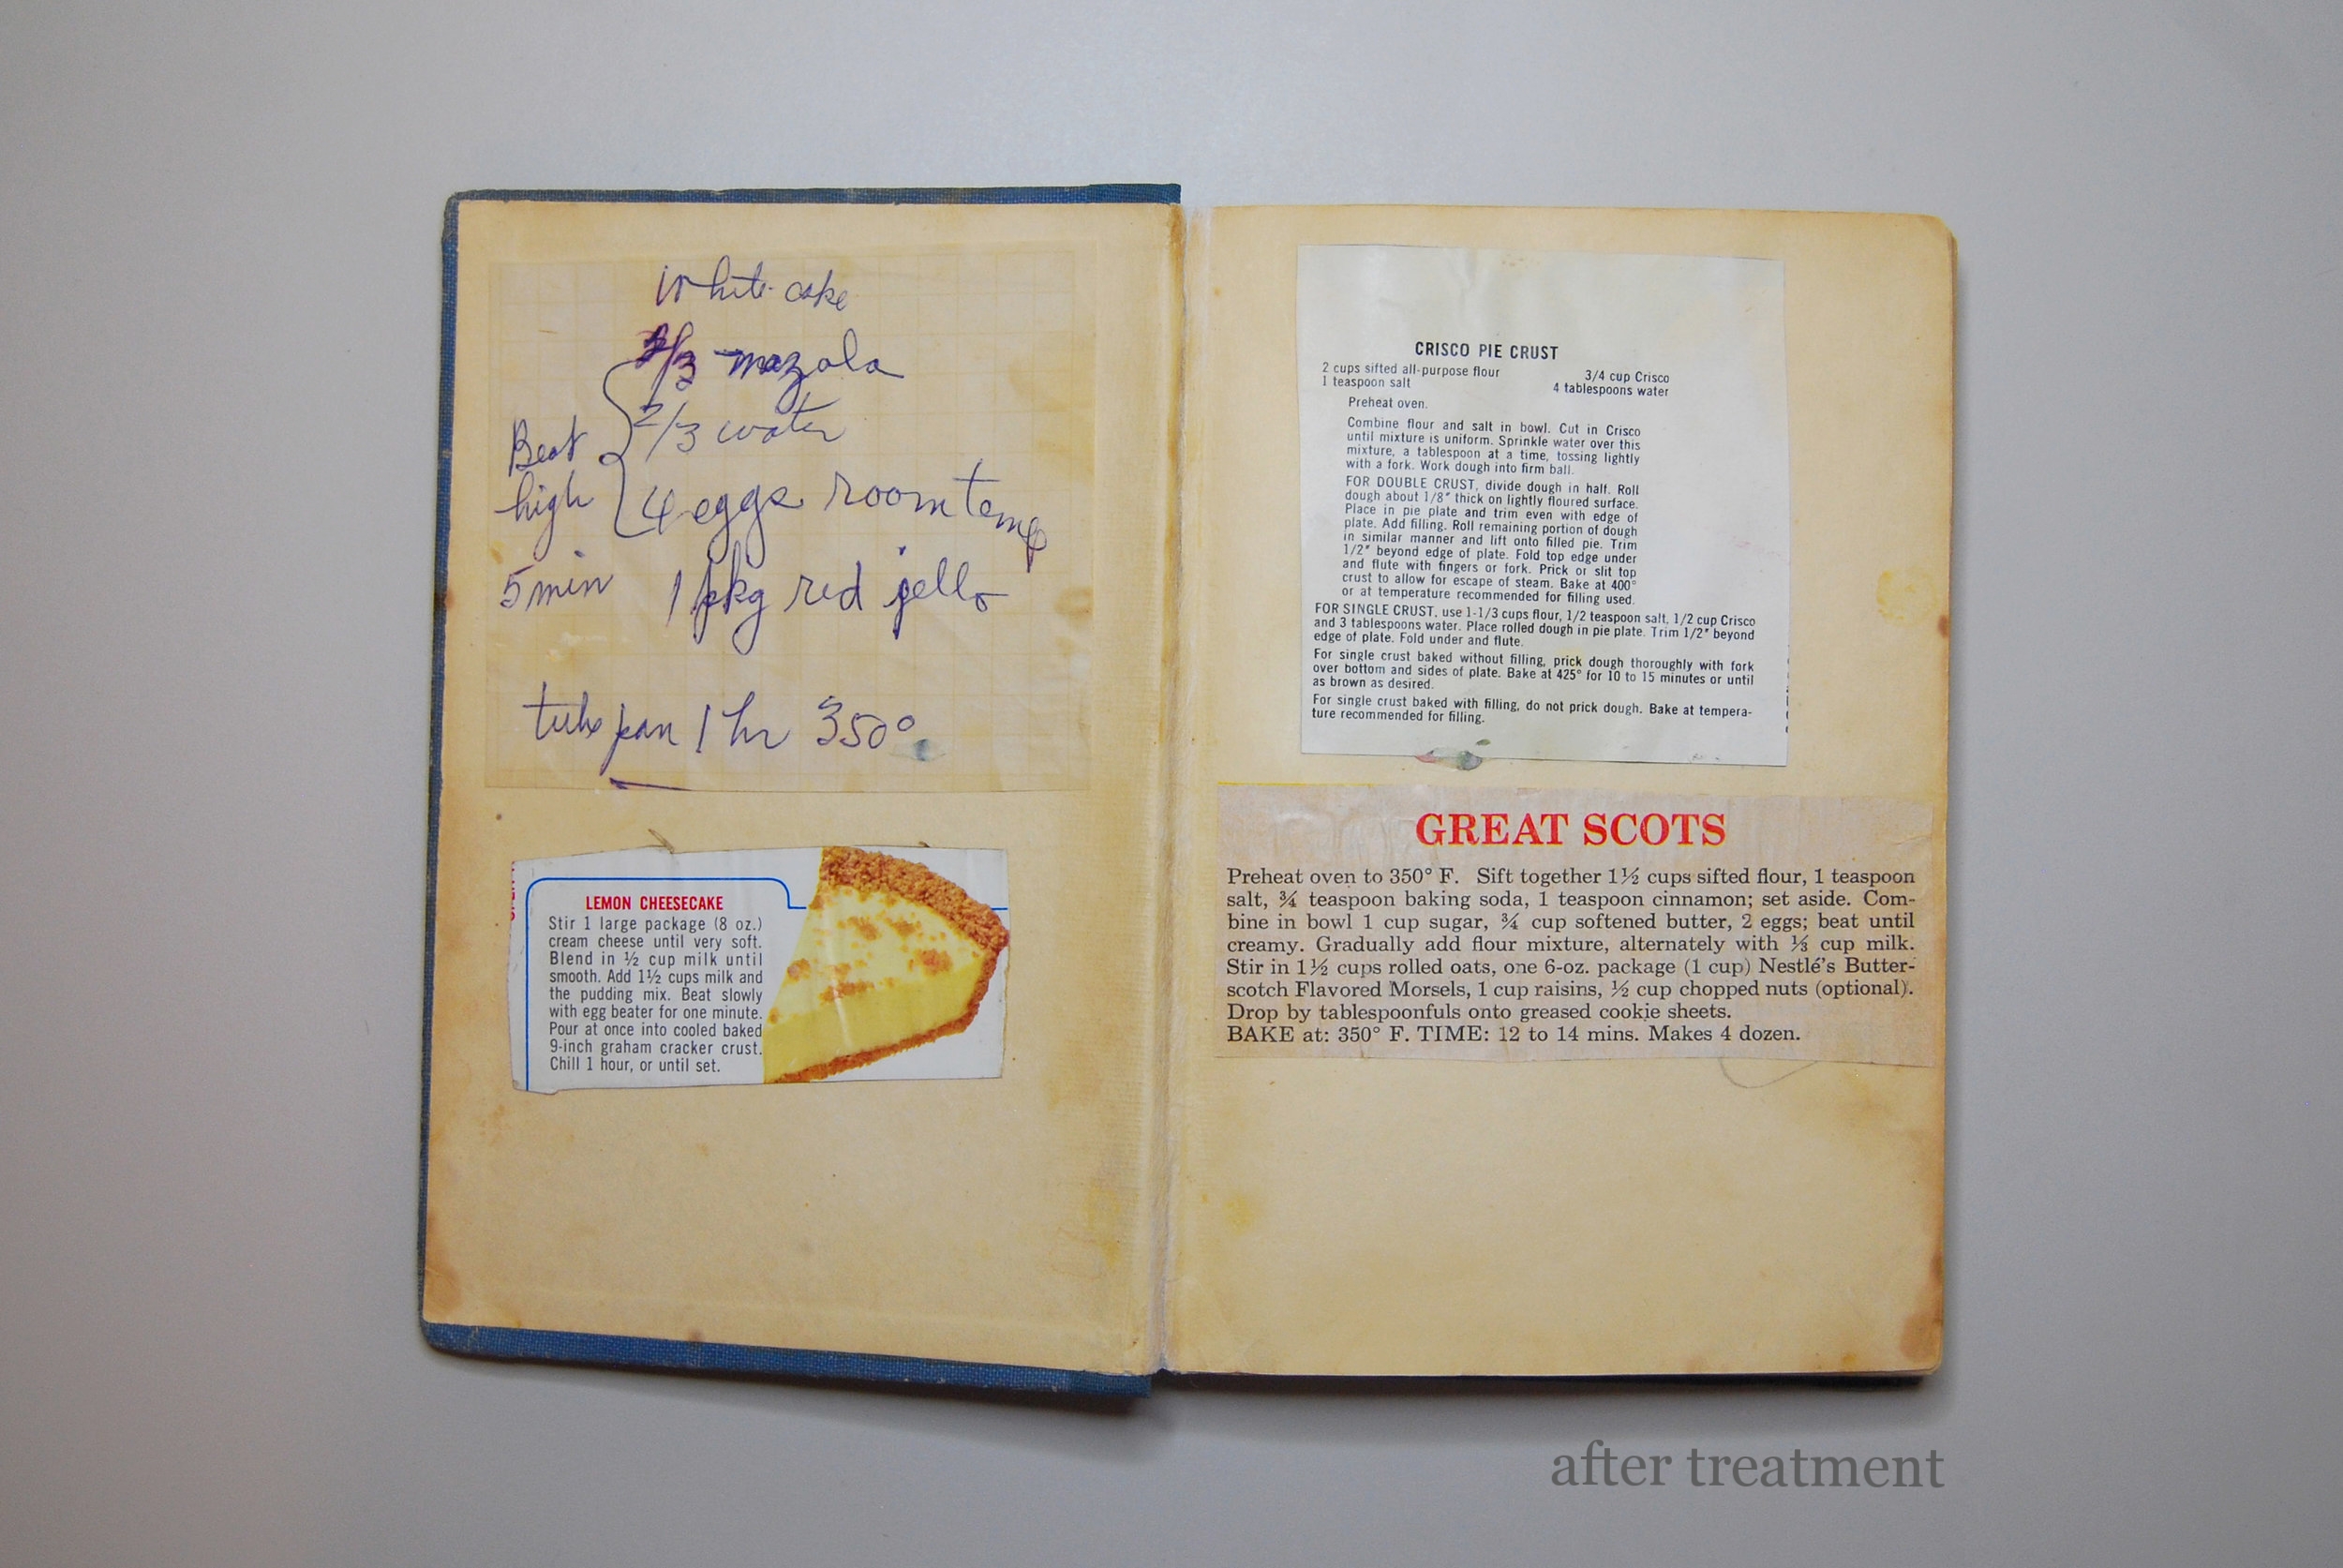
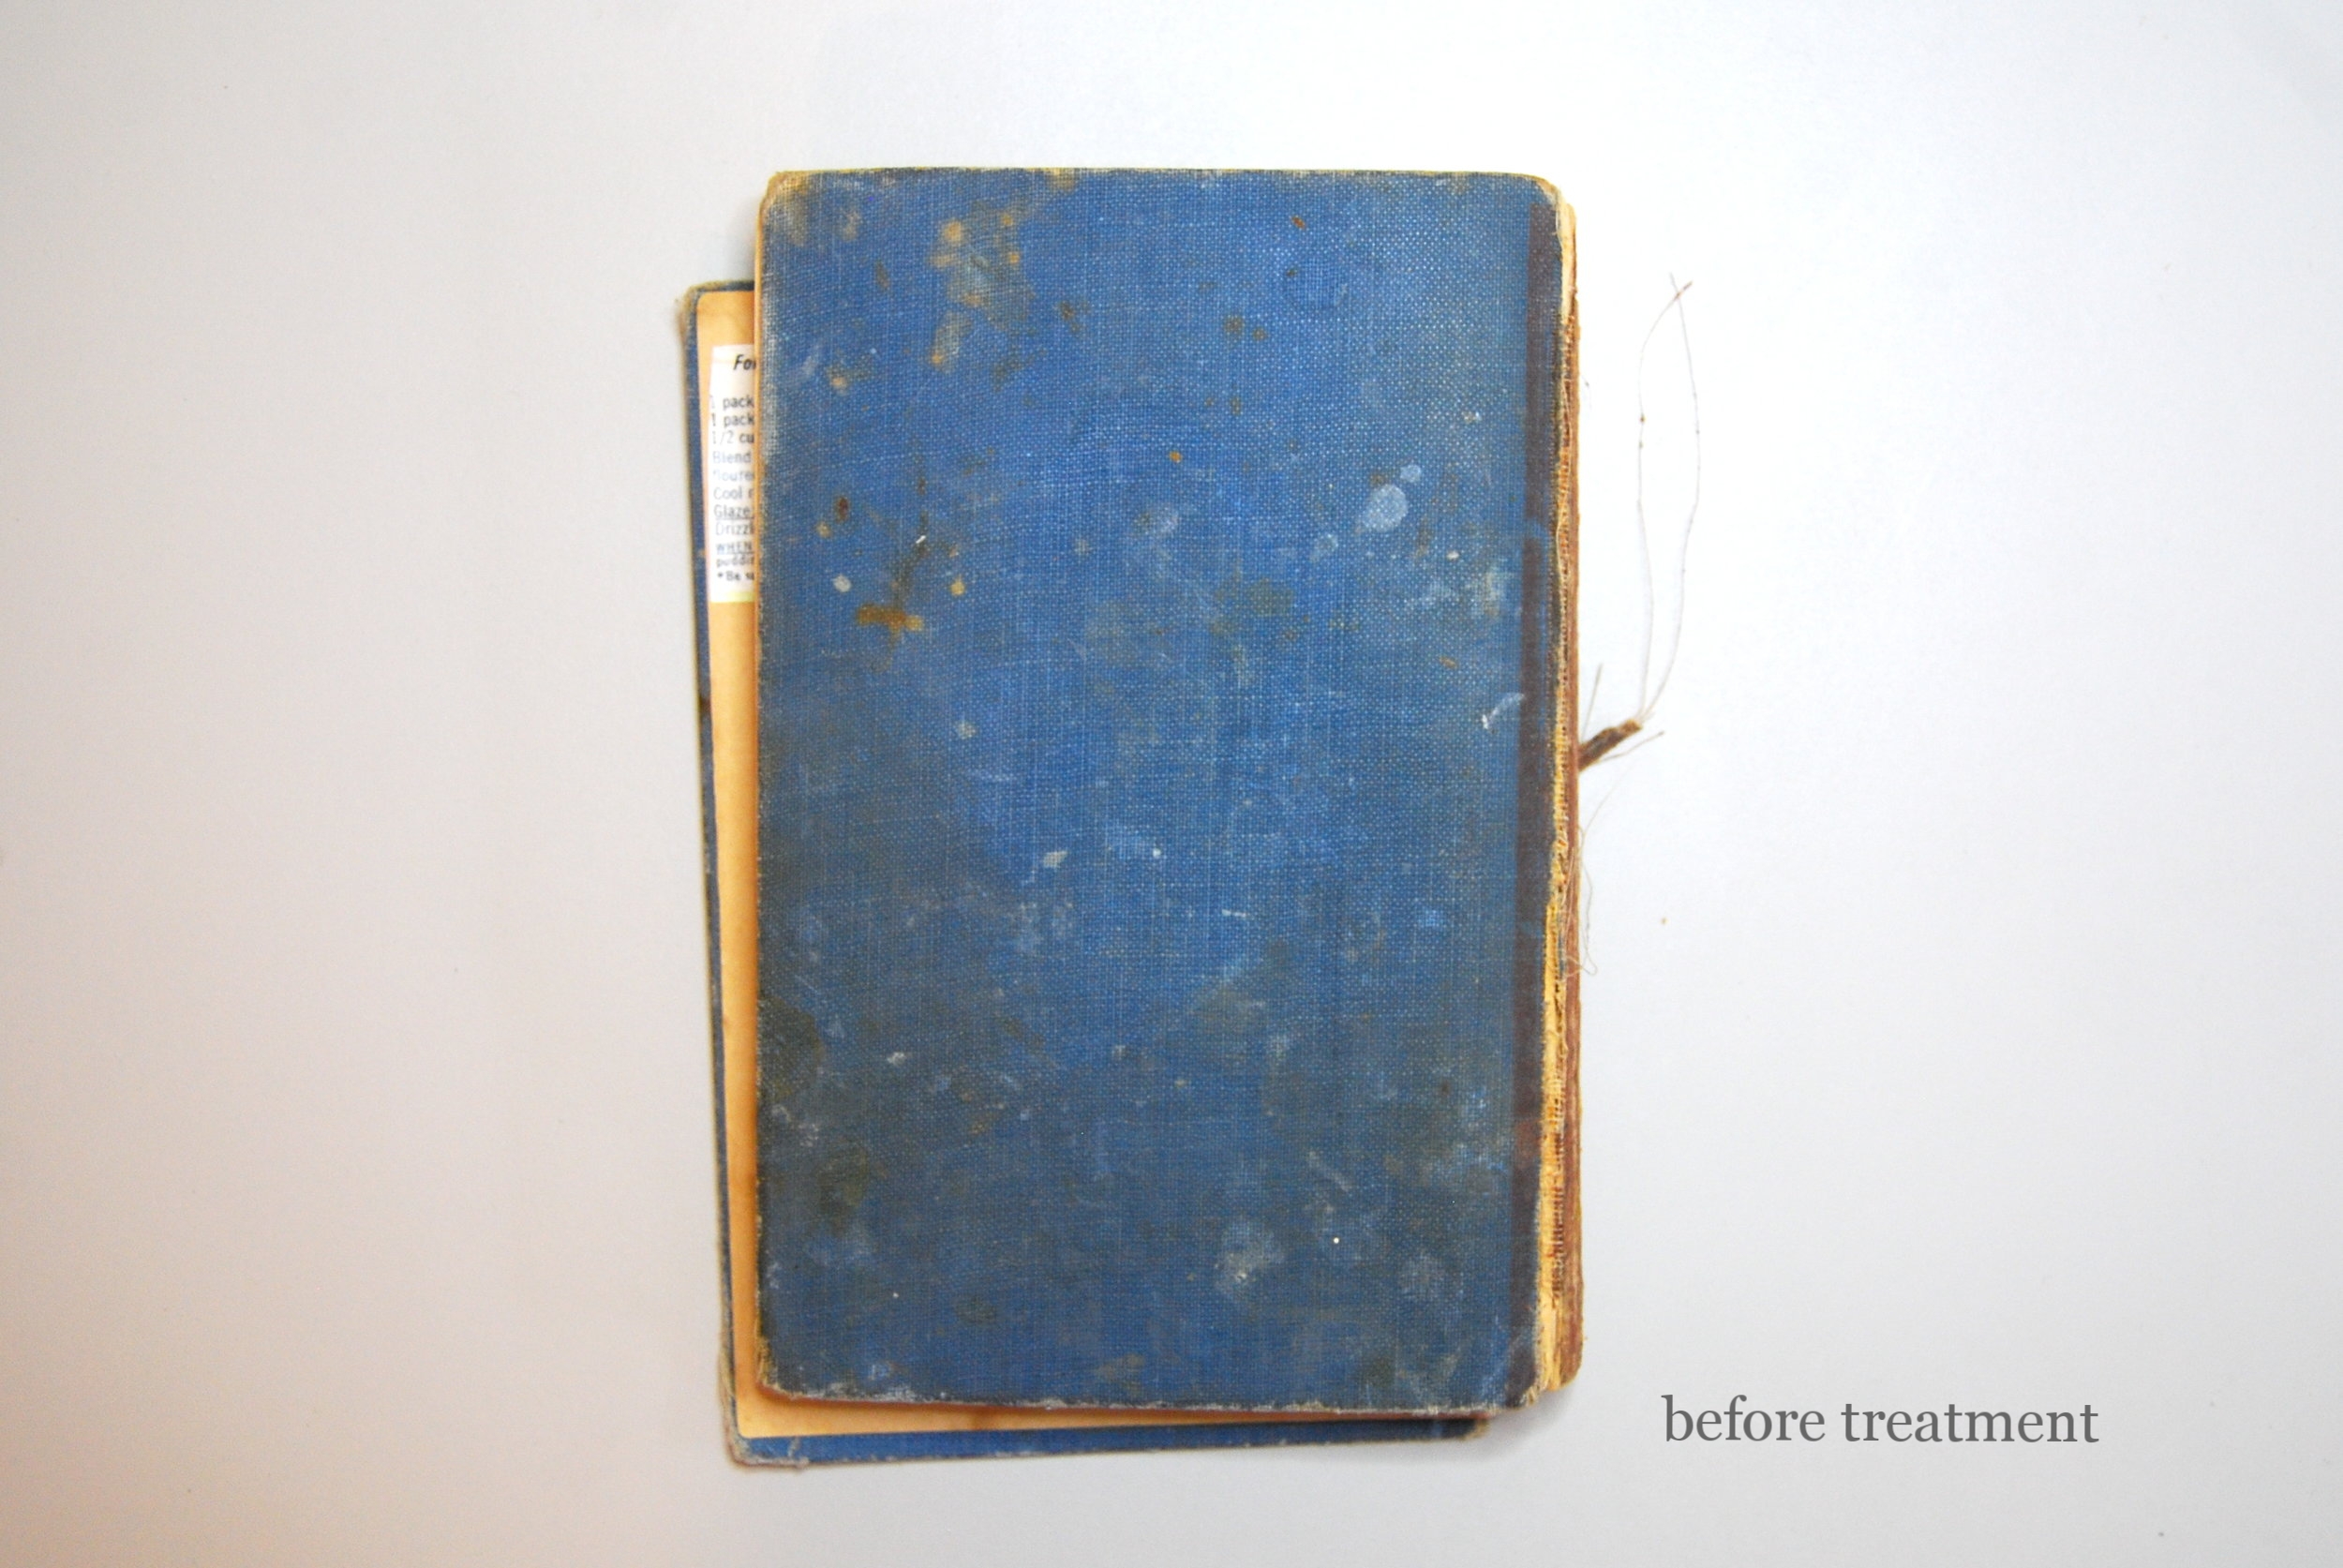
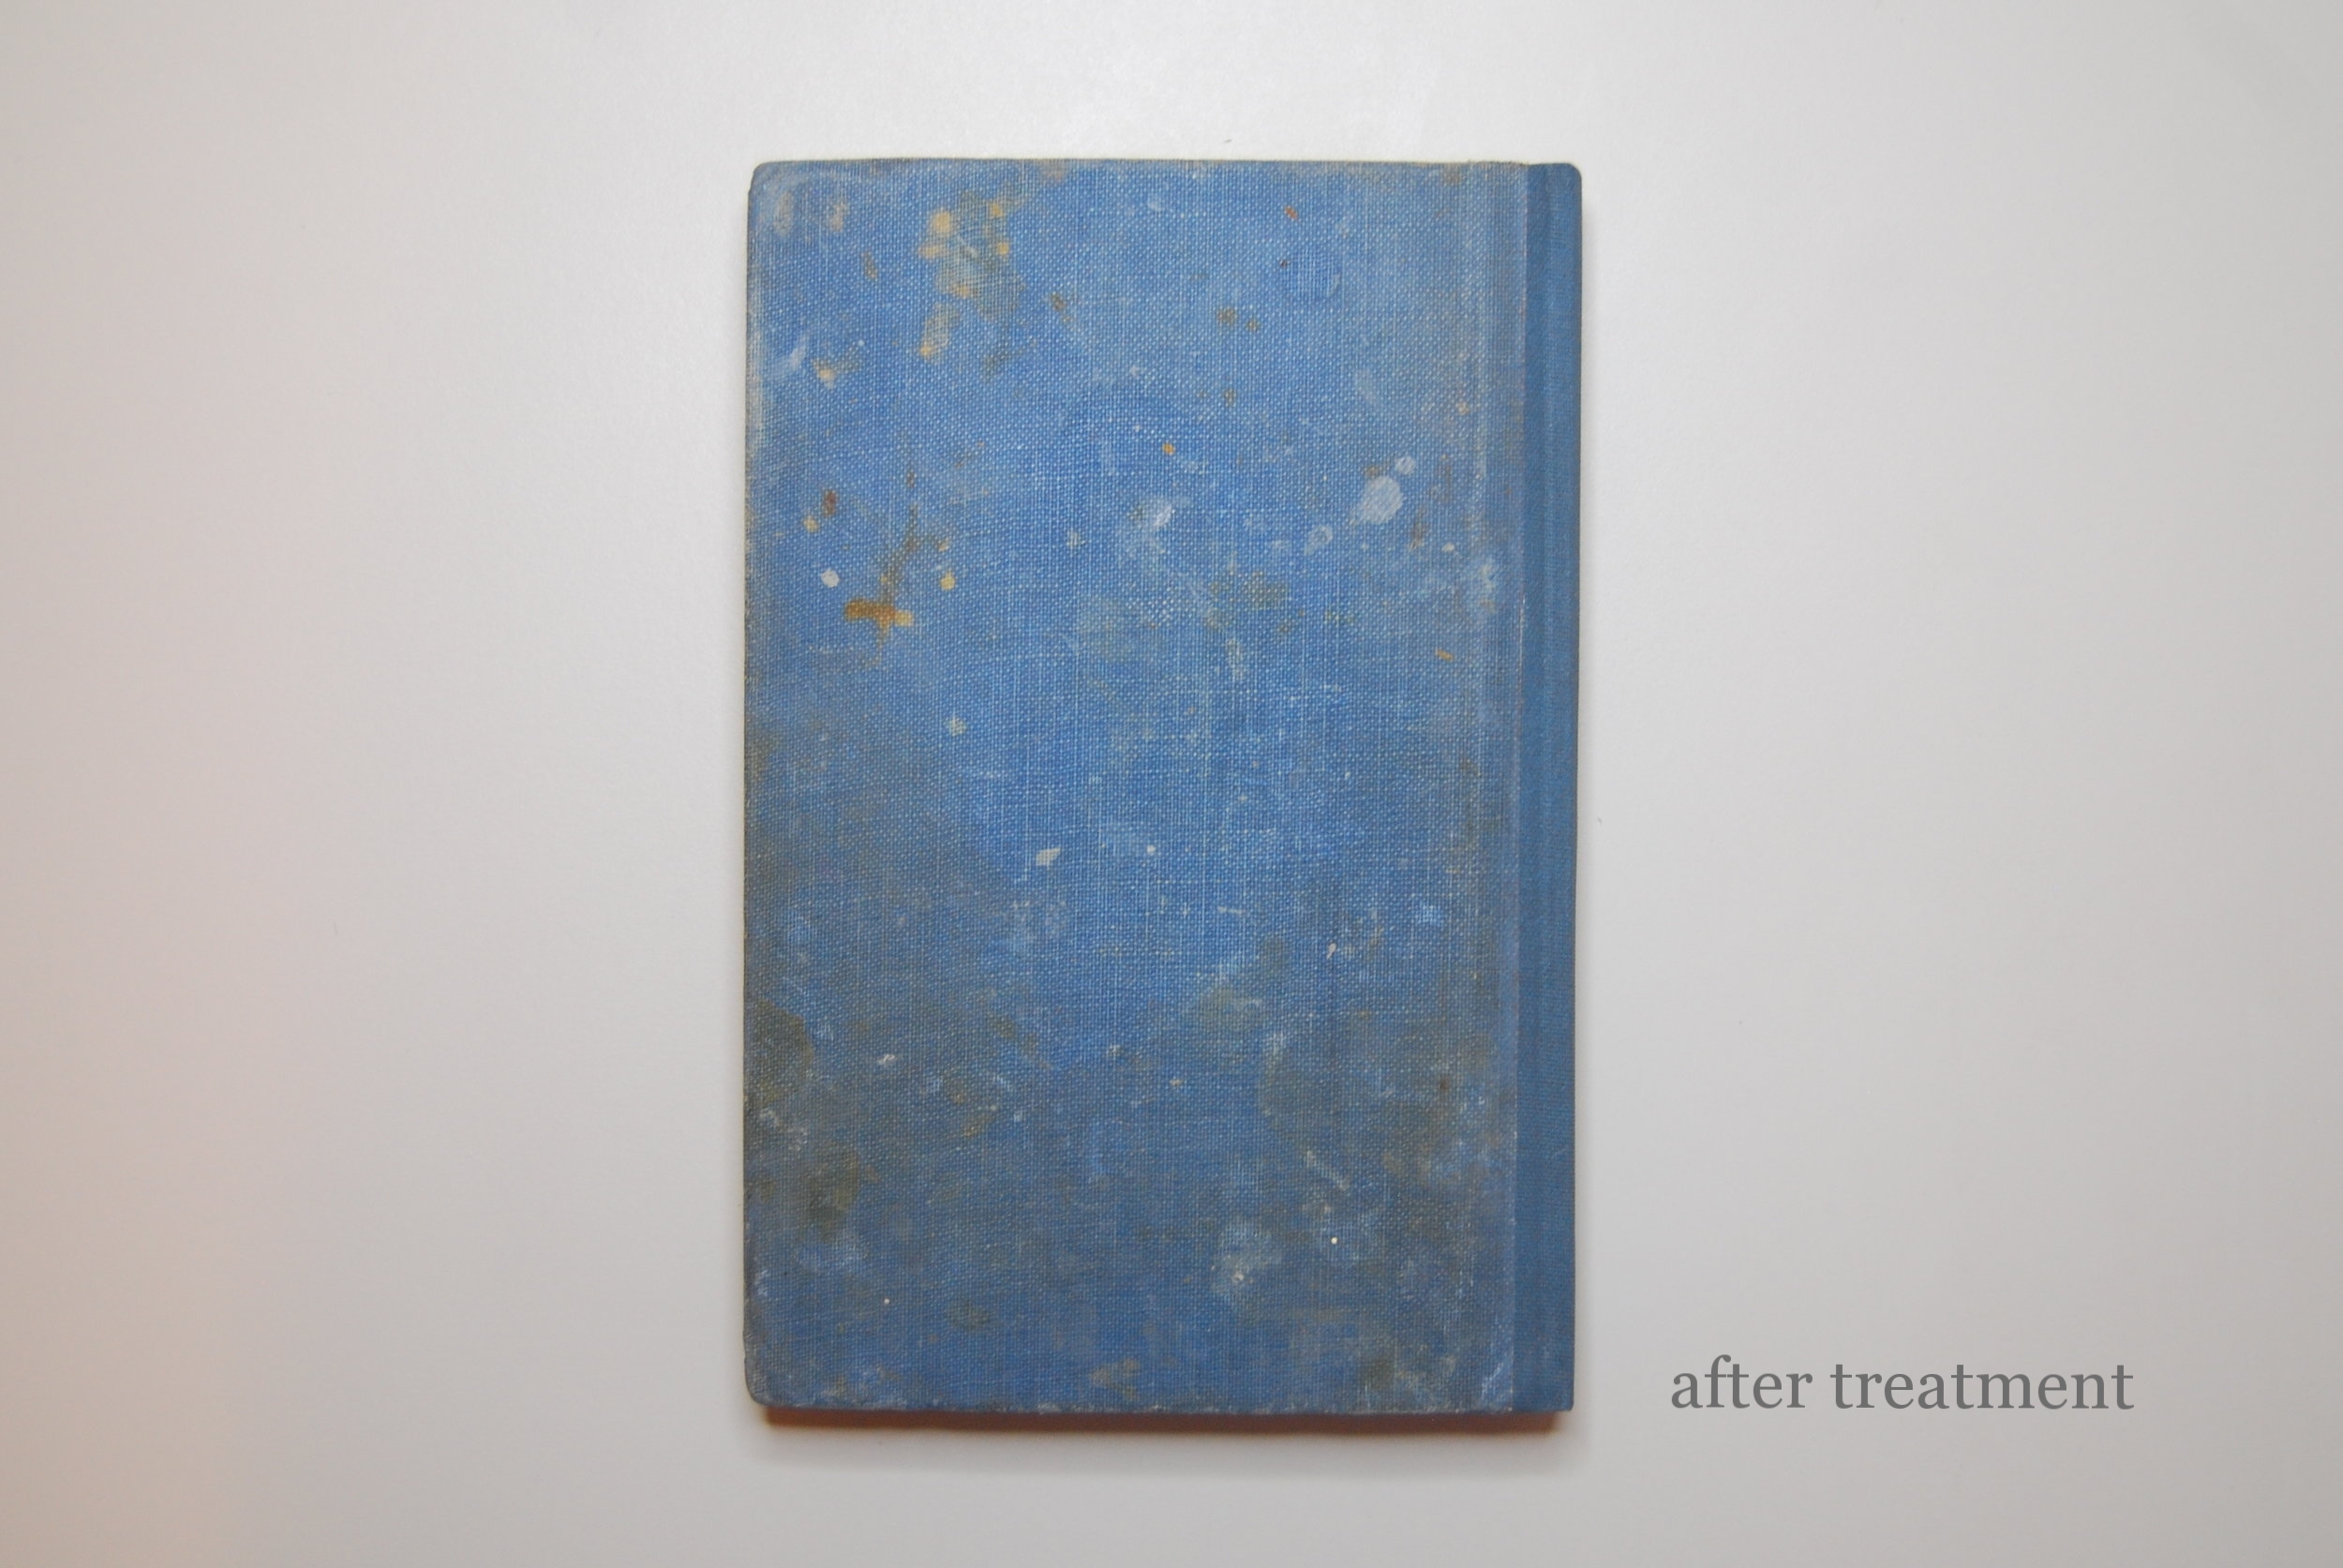
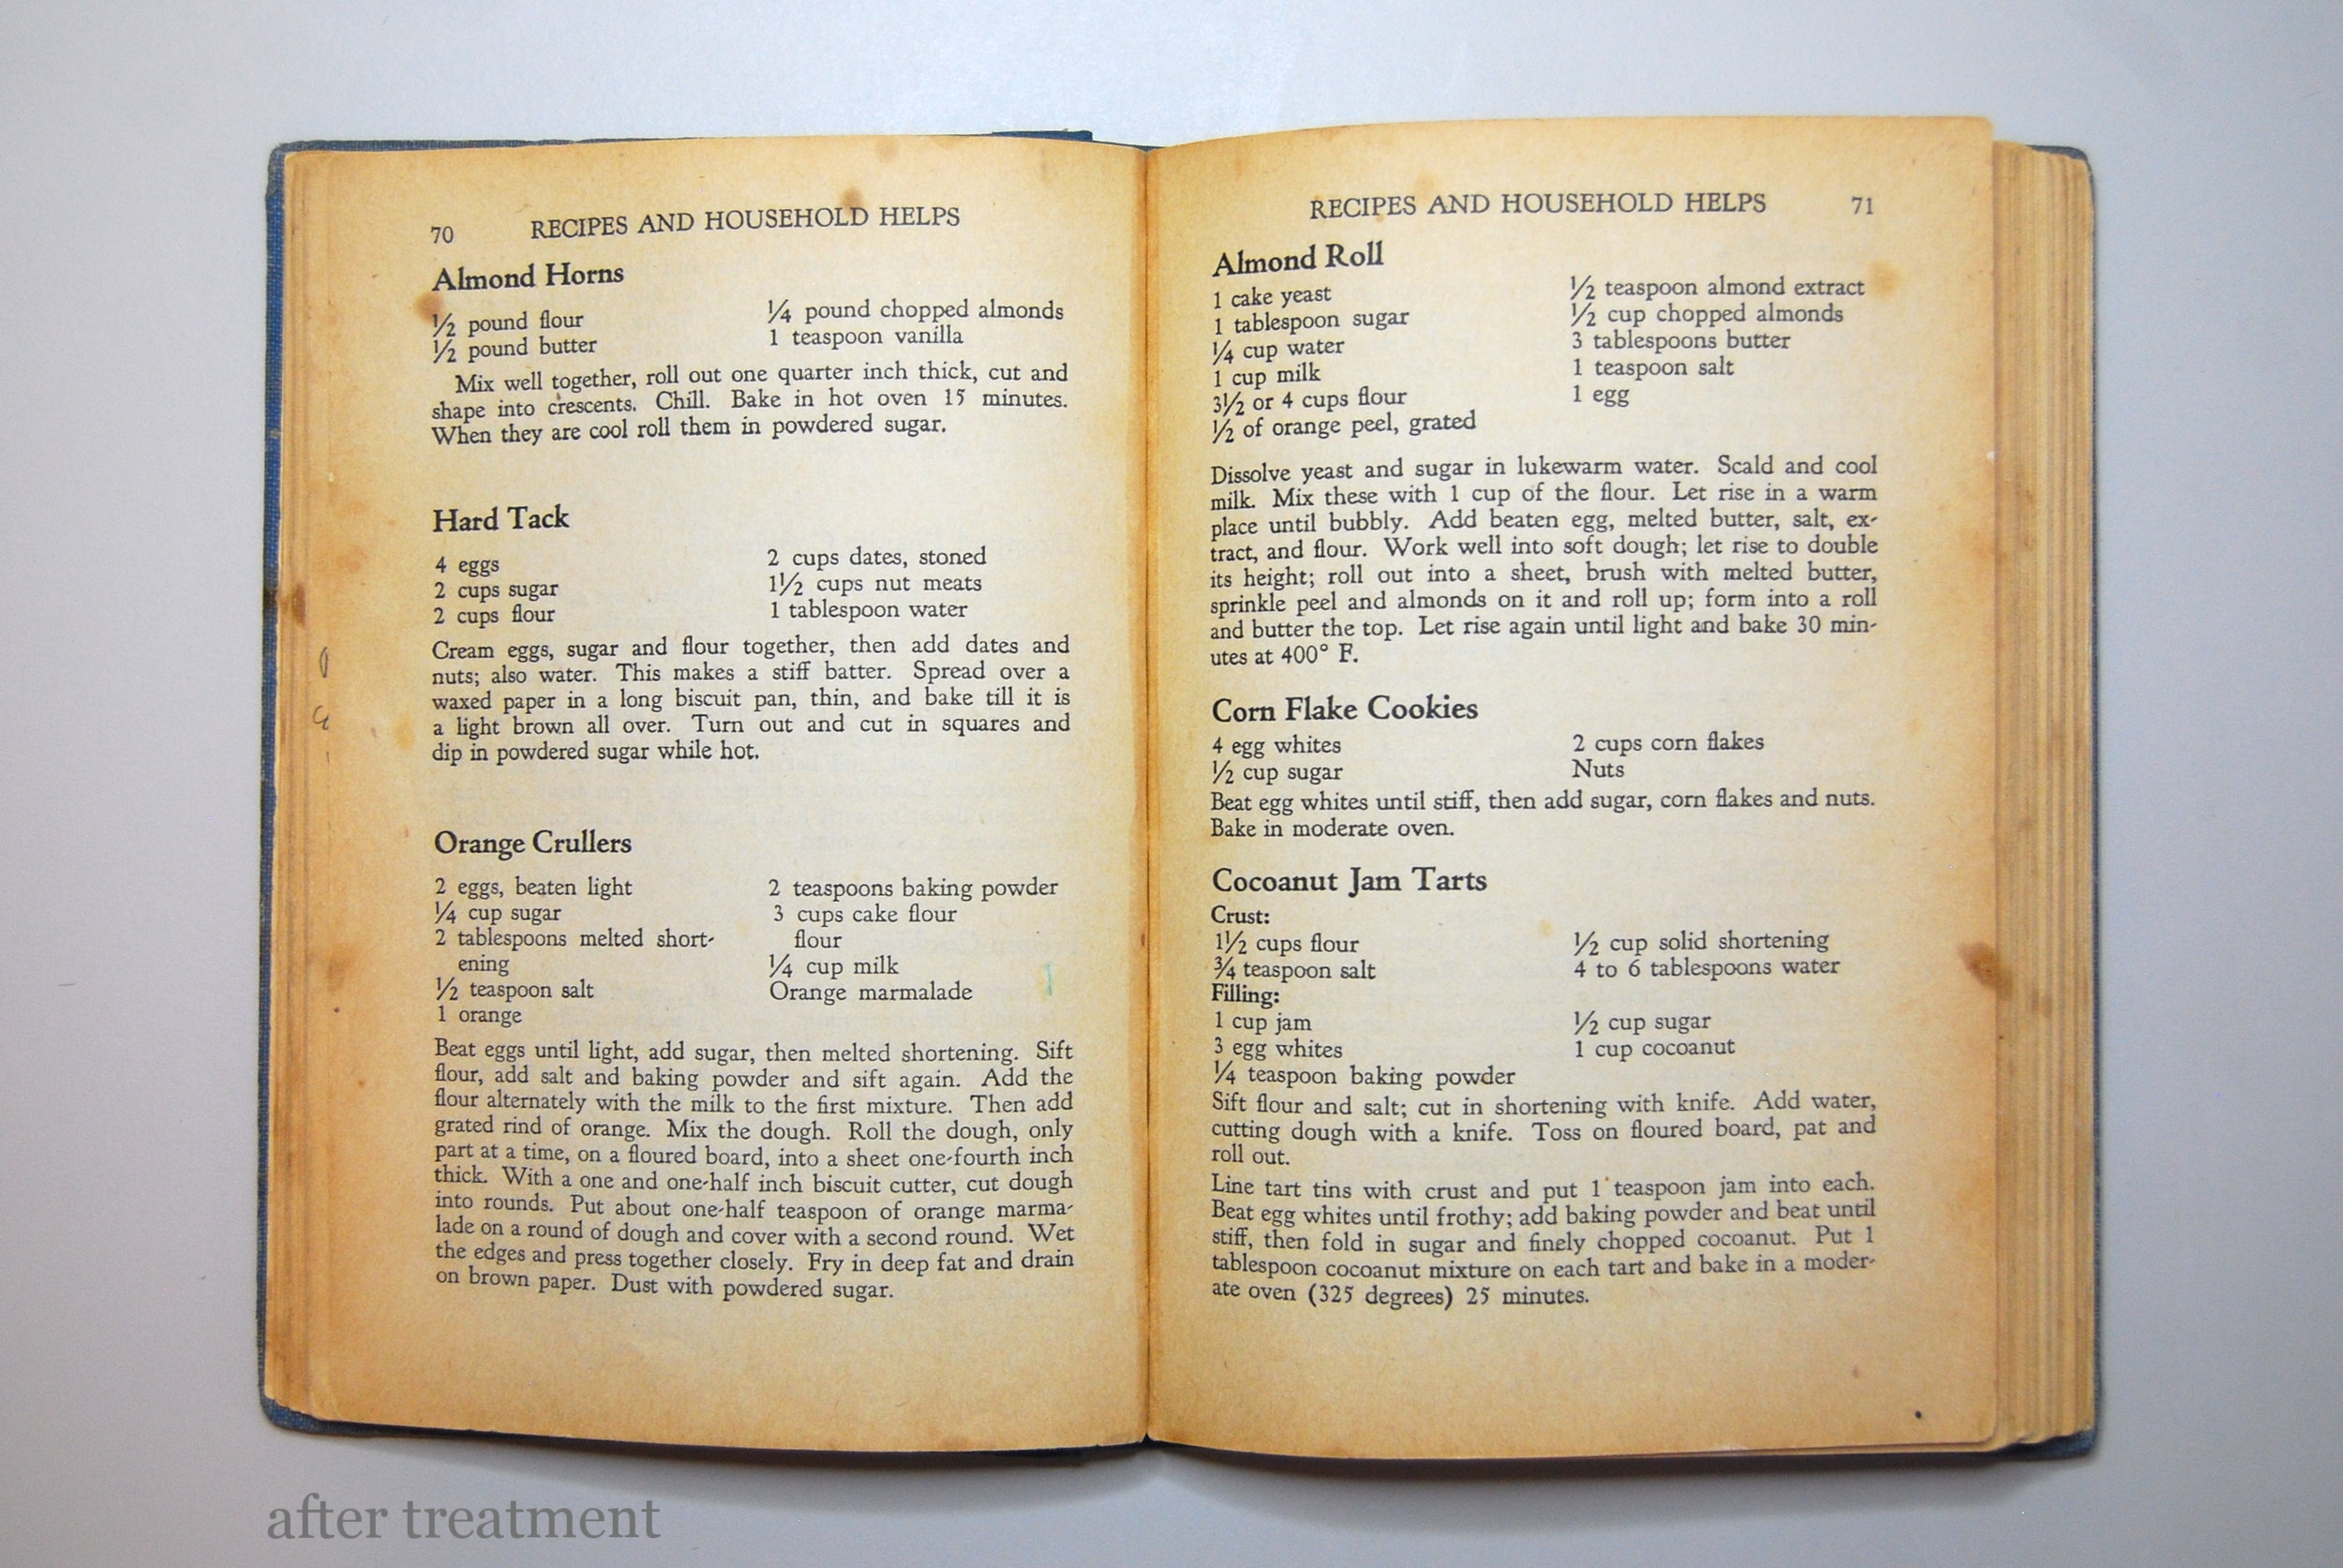
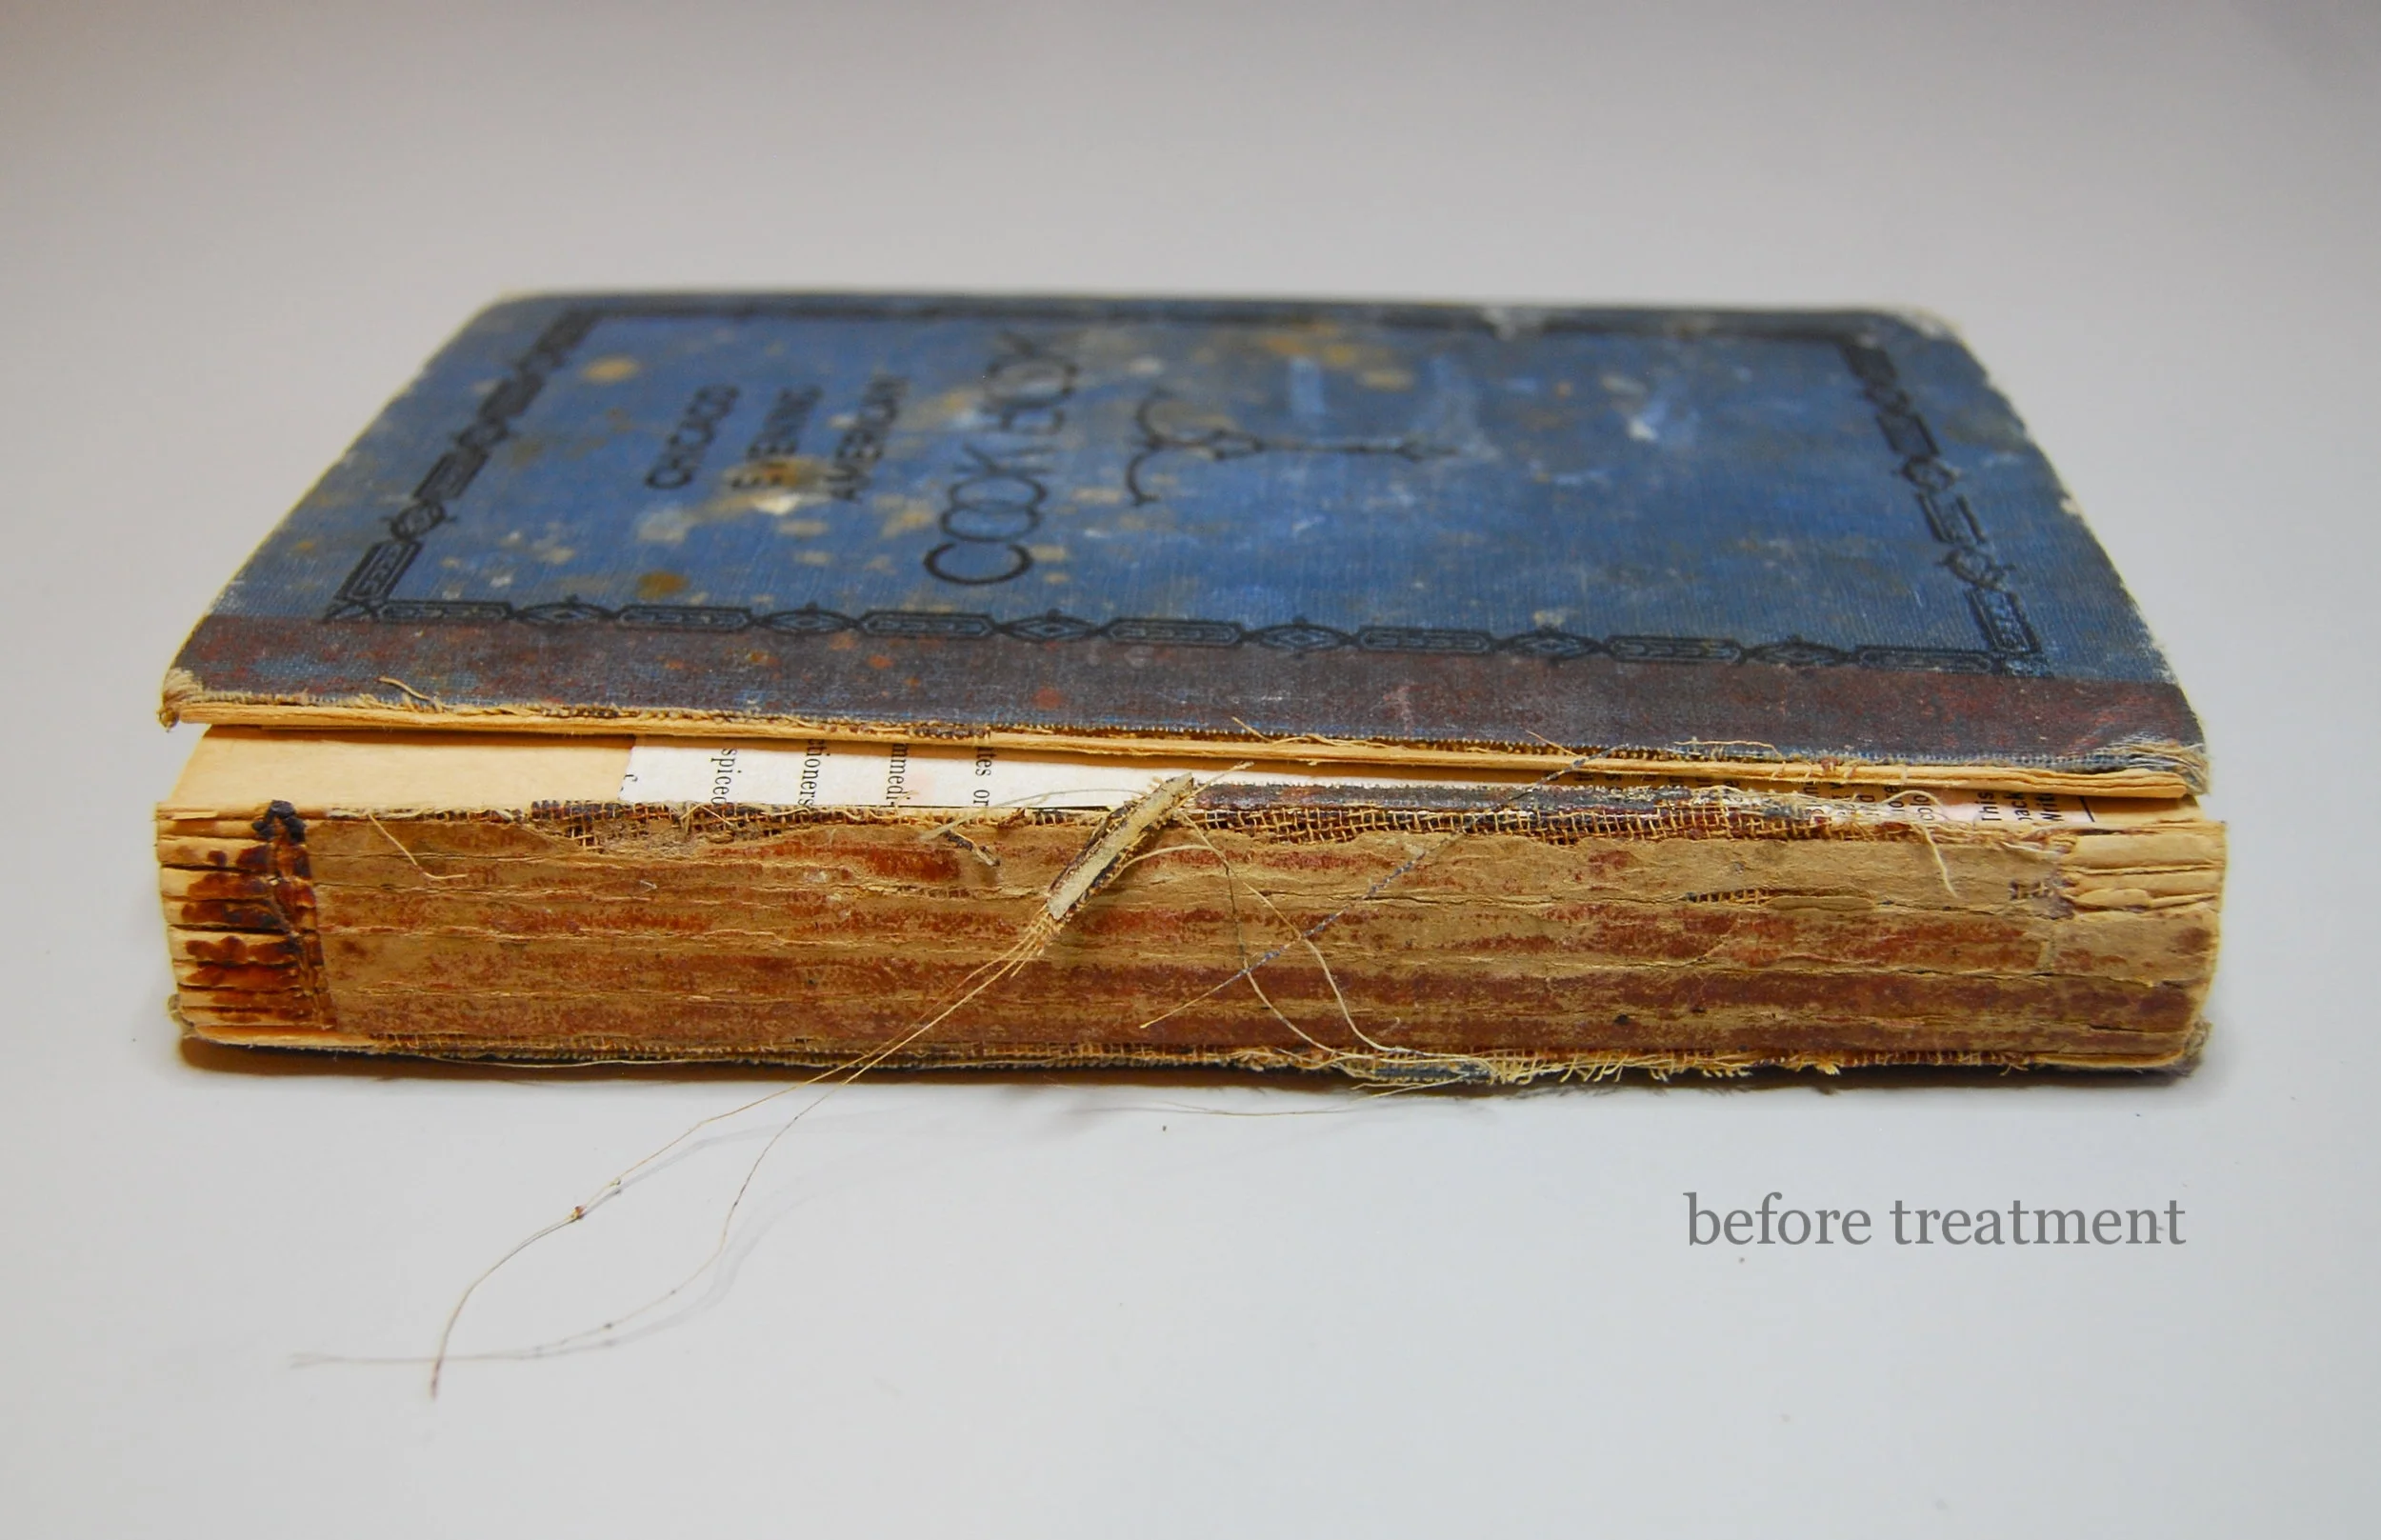
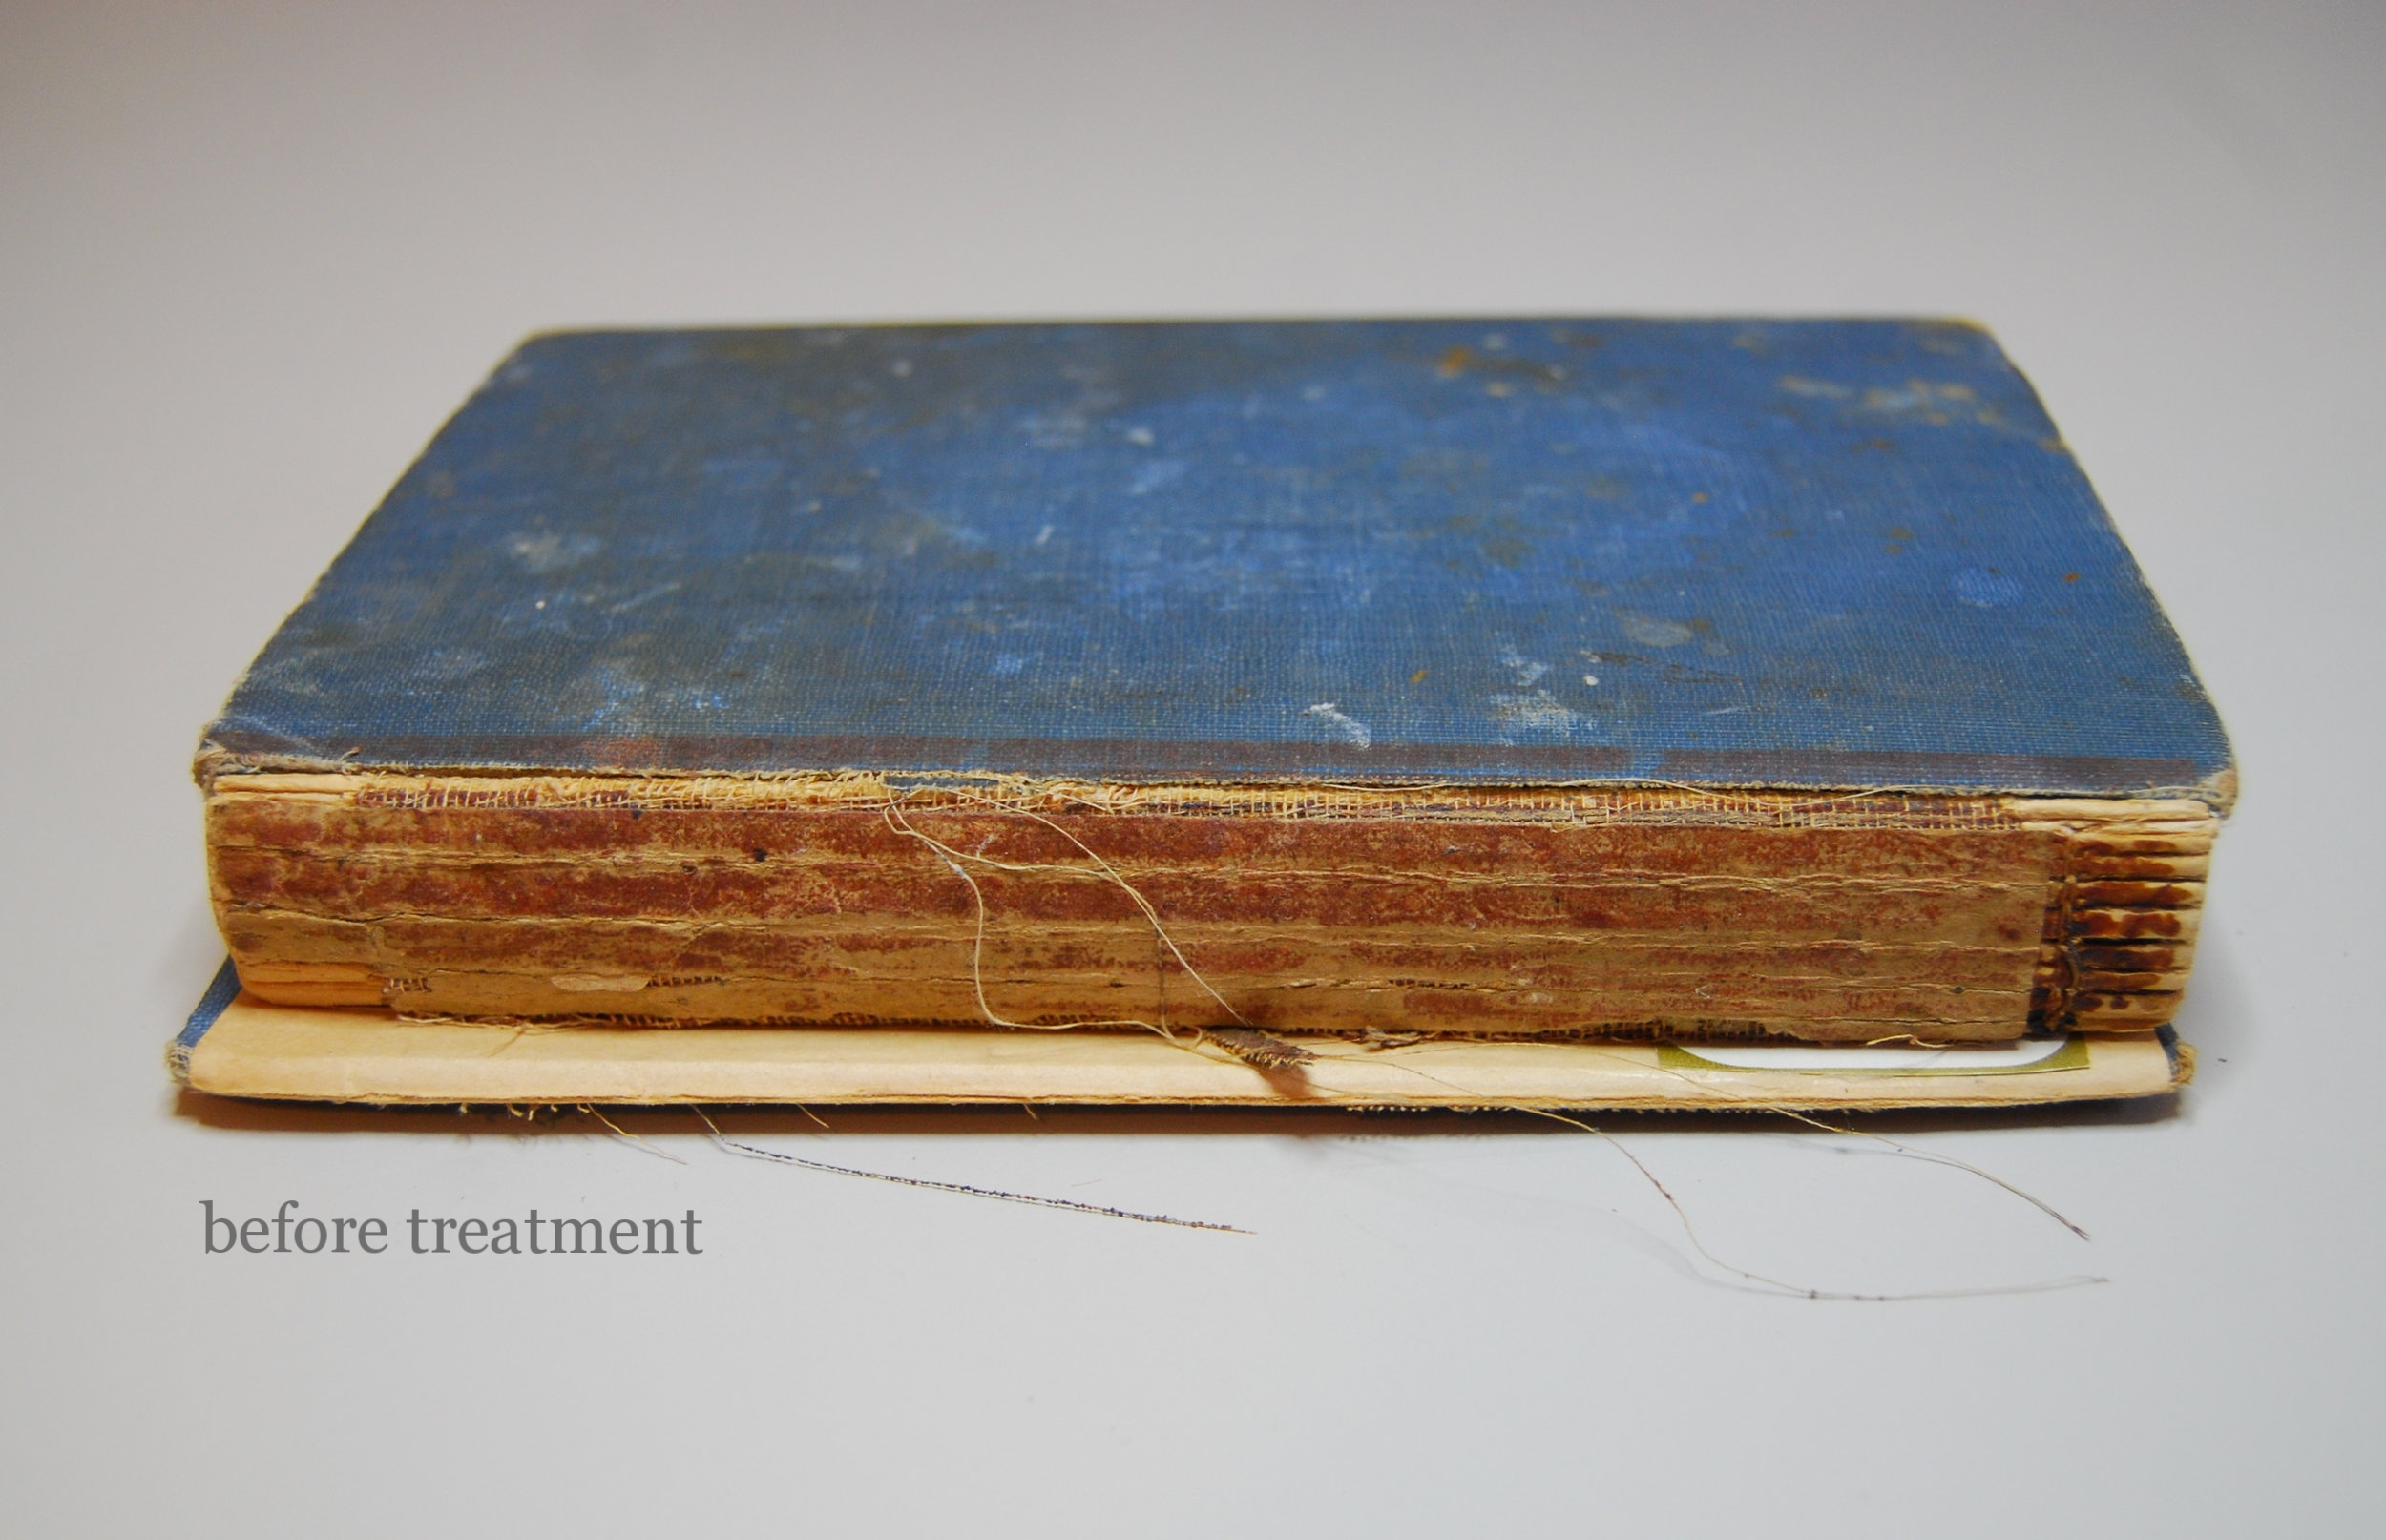
This particular copy has been handed down in the owner's family and is full of wonderful recipe clippings, handwritten additions, and notes. It has been well-loved, and now, in need of a little love itself. The spine was missing, the front cover detached, the back cover coming loose, spine lining and adhesive cracked and failing, and the usual wear and tear to the covers. The owner wanted the book to be functional again and structurally sound so that it will last for future generations. They agreed that the majority of cooking stains on the covers are part of its story and were worth keeping. So I set about to bring this cookbook back to being a functional and happy book again. Below is a brief recount of some of the steps/process used in this treatment.
I began with removing the loose back cover, mending the cover corners on both boards by consolidating the flaking board with PVA (think archival Elmer's glue), adhering thin Japanese tissue to the exposed corners and tinting it (with acrylic paint and methylcellulose) to match the cloth. I did some very minor stain reduction, removed remnants of a brown adhesive tape which once was placed to keep the spine and covers on.
This textblock required resewing and new spine linings. The old lining and glue were cracked, failing to give the support the spine needed, so I began to prep for the process of resewing.

Thread Preparation: An example of undyed linen thread and linen thread I dyed with black tea. The tea dyed thread matched the original thread used for the textblock and is also less startling than bright white thread.


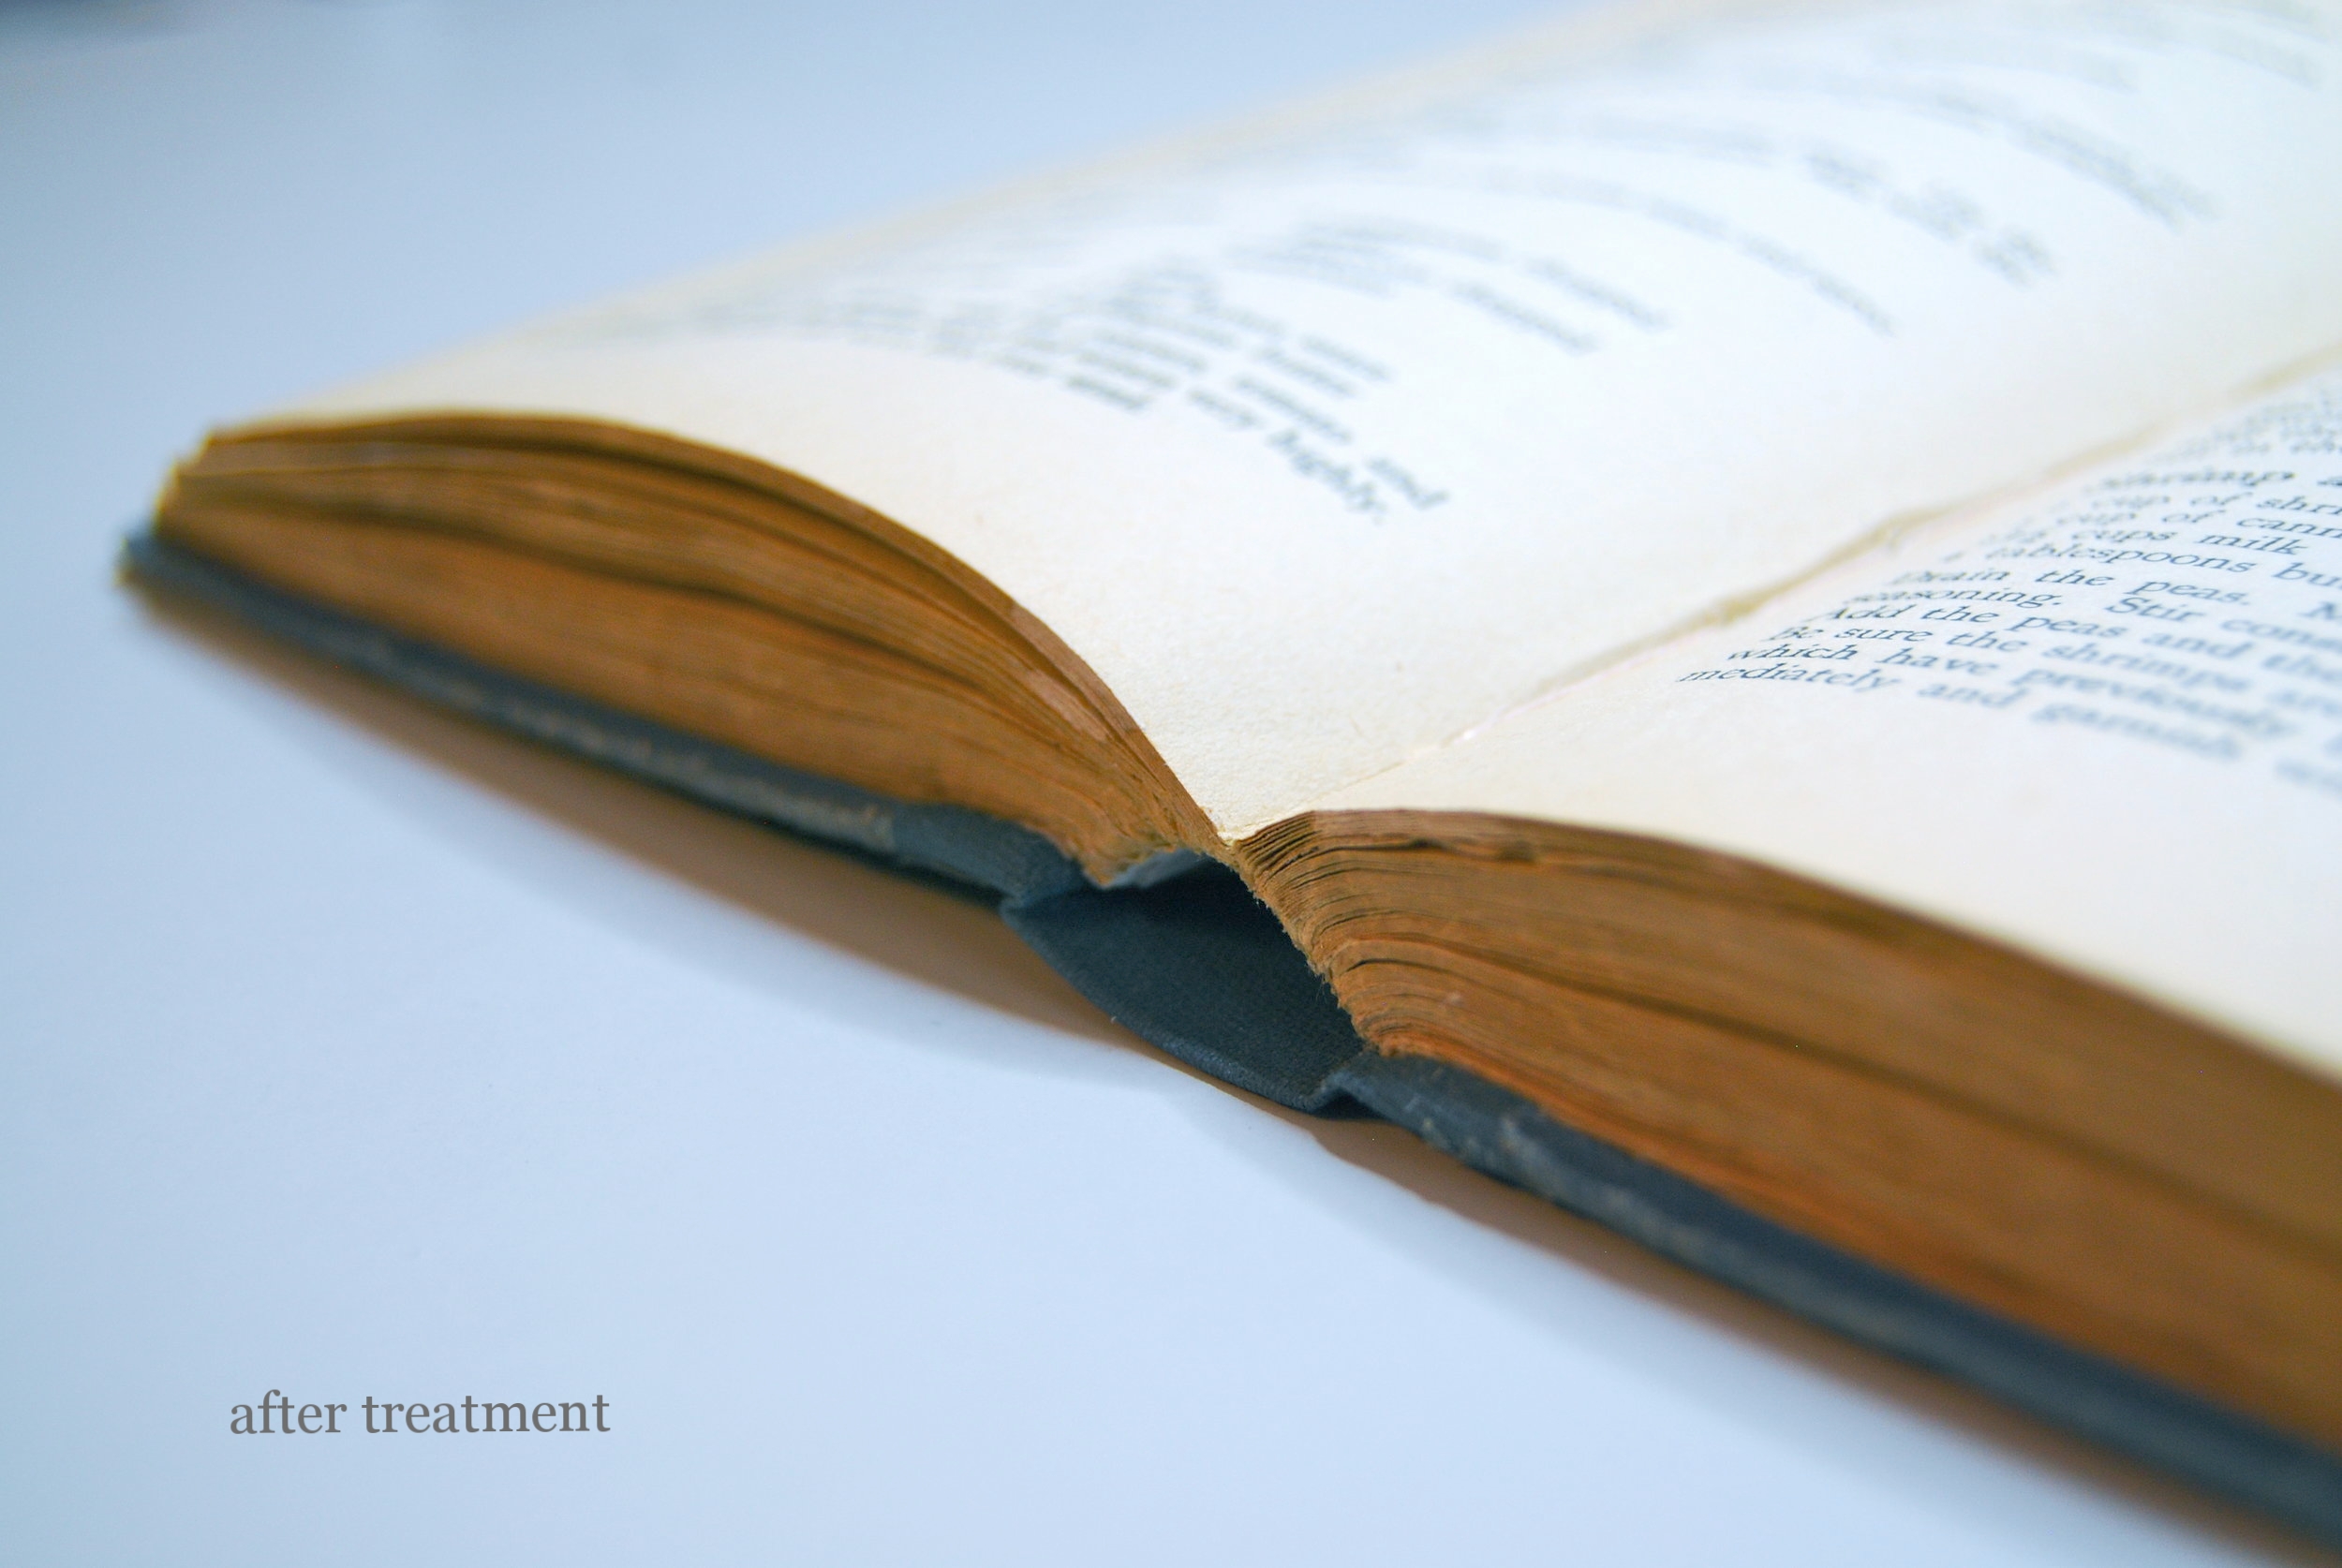
At this point the signatures (one gathering of folded pages) have been lined with a thin Japanese tissue and wheat paste adhesive. This gives support and mends the loss where the spine was once exposed and folds were torn. The signatures were re-sewn using the existing sewing stations and a link stitch. The sewing is complete and the textblock is squared up (making sure all the signatures are in alignment), the original round to the spine is recreated, and the ends of the sewing thread are frayed, and the spine is pasted up and lined.
Then the new spine piece is created and preparations for board + spine piece reattachment ensues.
Above is a photo depicting the process of toning (also called tinting) the bookcloth for the replacement spine piece. I use a mix of Golden acrylic paints and methylcellulose. One has to be careful not to add to much methylcellulose to the paint or the cloth will crinkle with the application, but also not too little methylcellulose or the cloth will become stiff and the paint may appear caked on. It's important to get the paint mixture right initially, the more paint that's added on, the stiffer the cloth becomes. I brushed on the paint and quickly used a rag and circular motions to integrate it into the cloth weave and avoid too much moisture. I ended up toning my one piece of cloth twice (once again after it tried, just tweaking the shade a bit). Thankfully the toning gods were smiling on me and it was a success.
I didn't take in-progress photos of the some other important and interesting steps, such as how I reattach the boards with Sekishu (Japanese paper) flanges and add the new spine piece, but maybe next time. For now, you'll have to take it at that and enjoy the other before and after photos instead.
Thanks for reading!
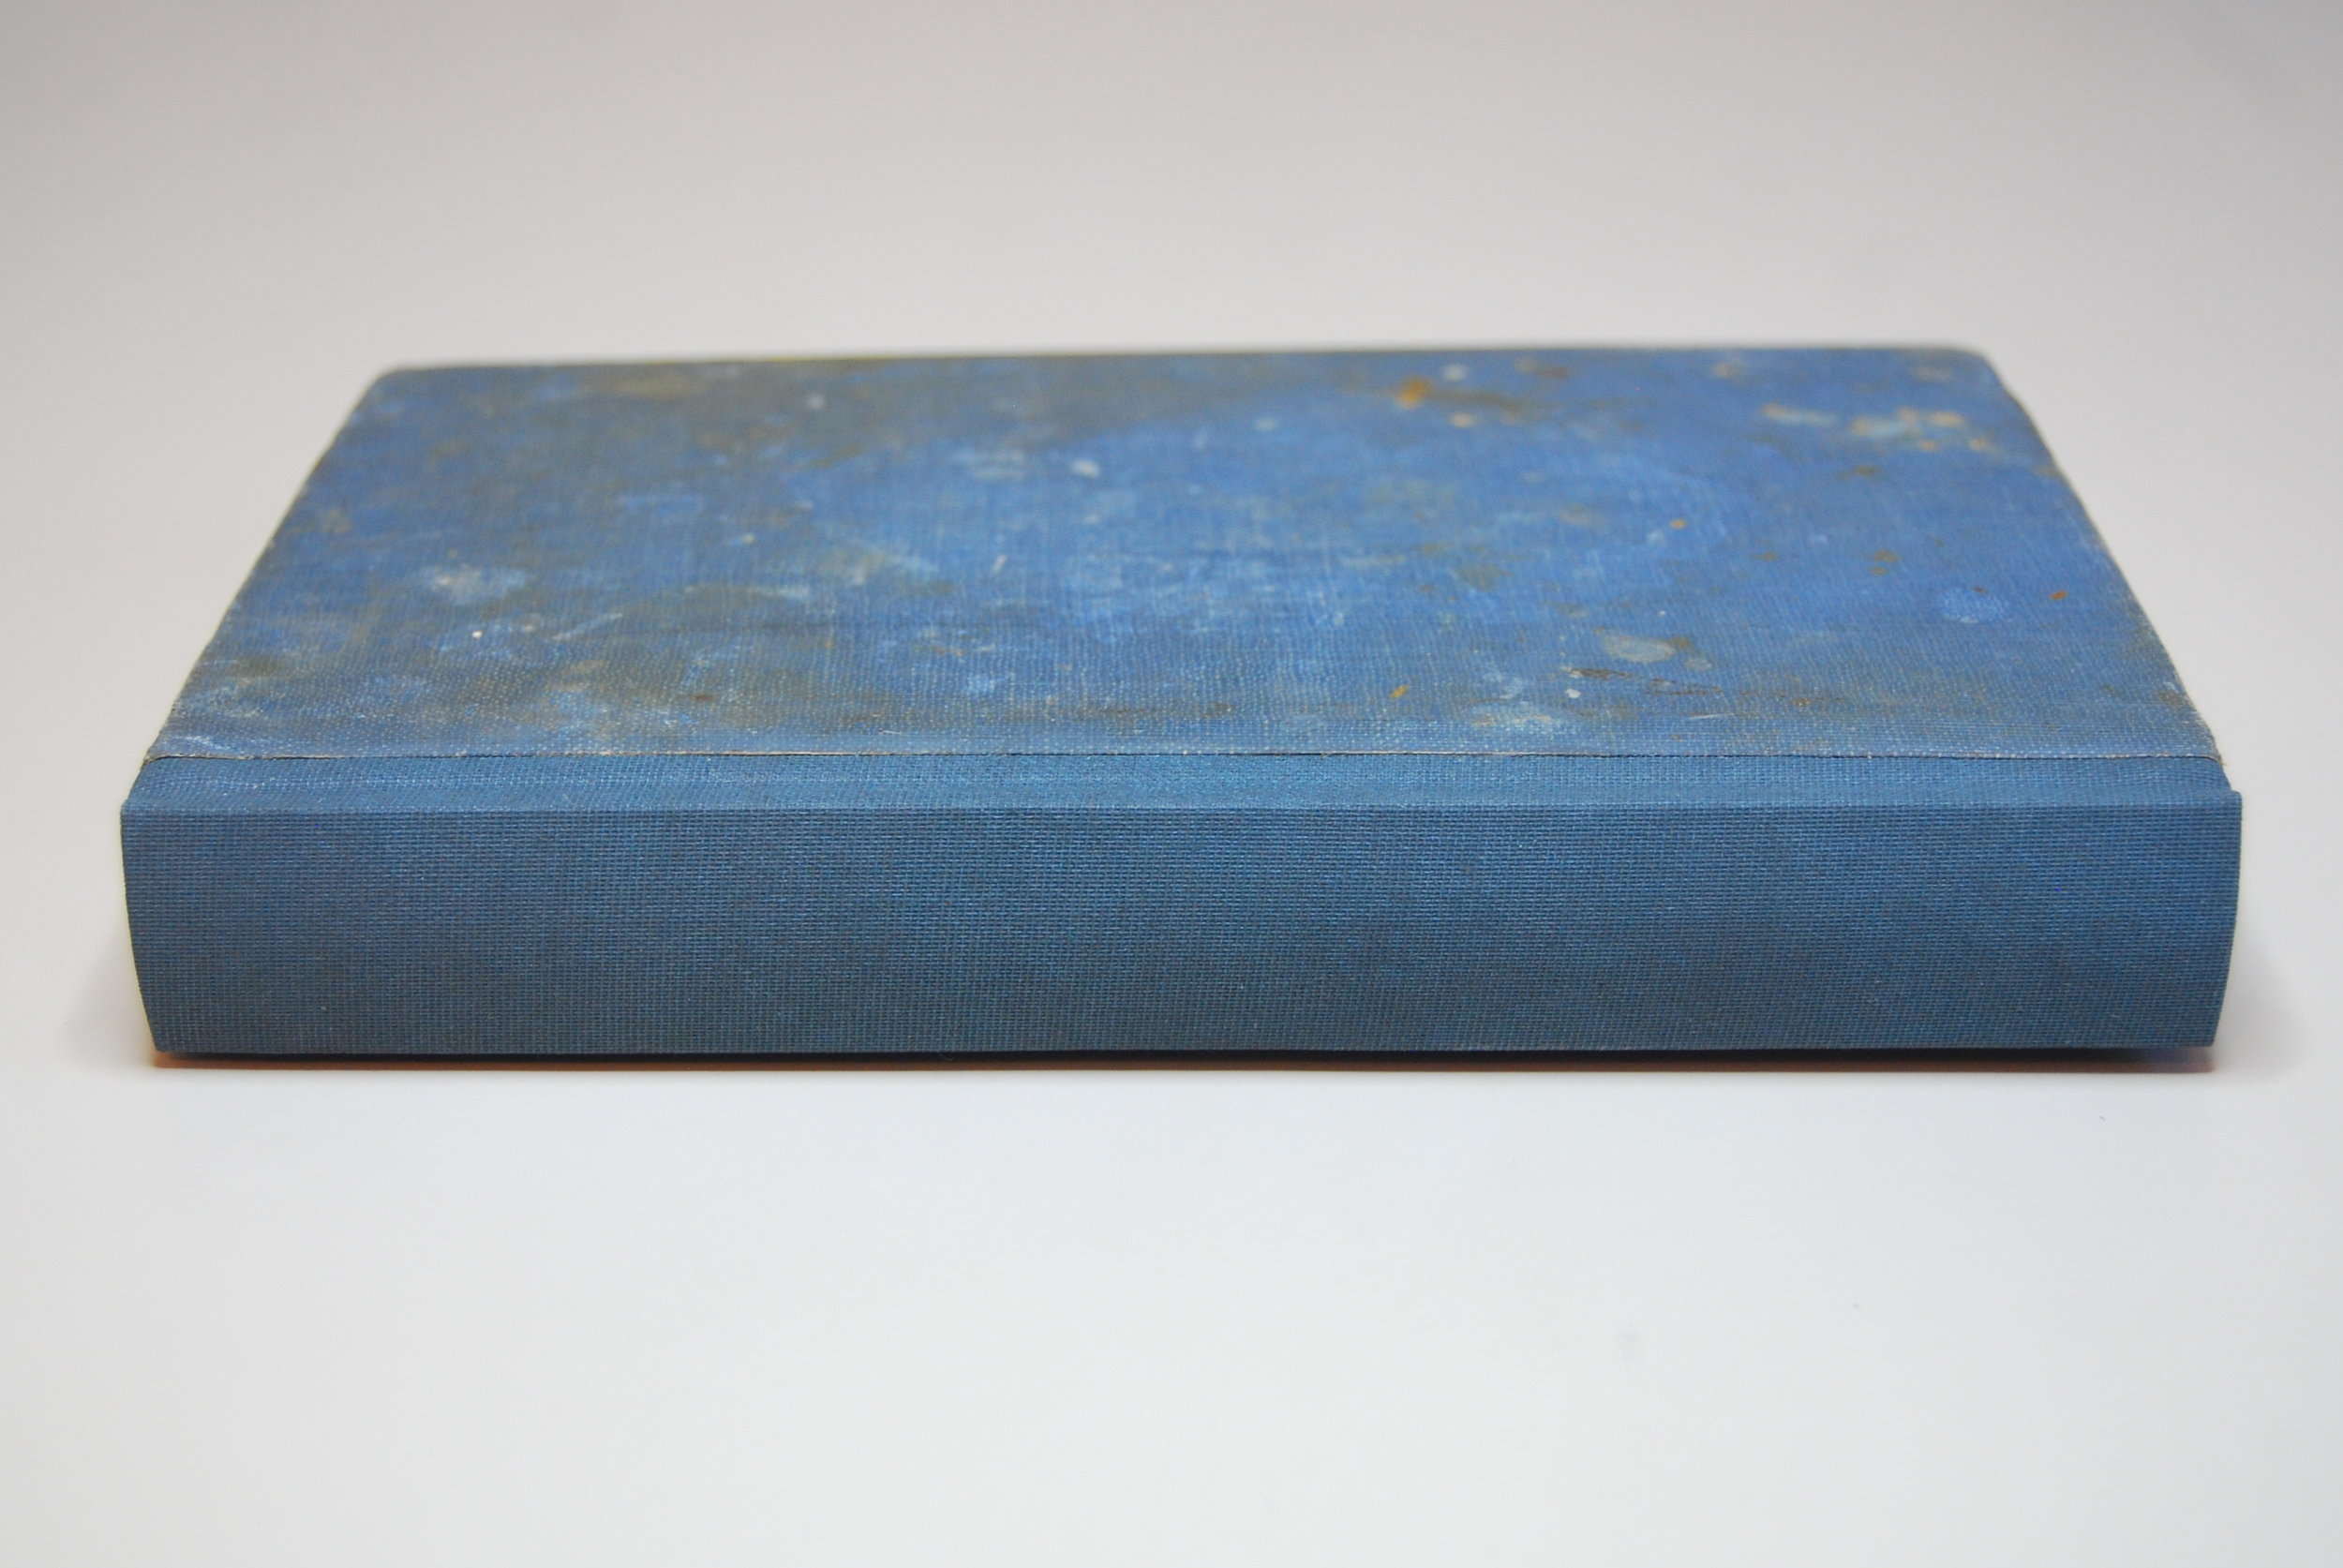
before and after photos:

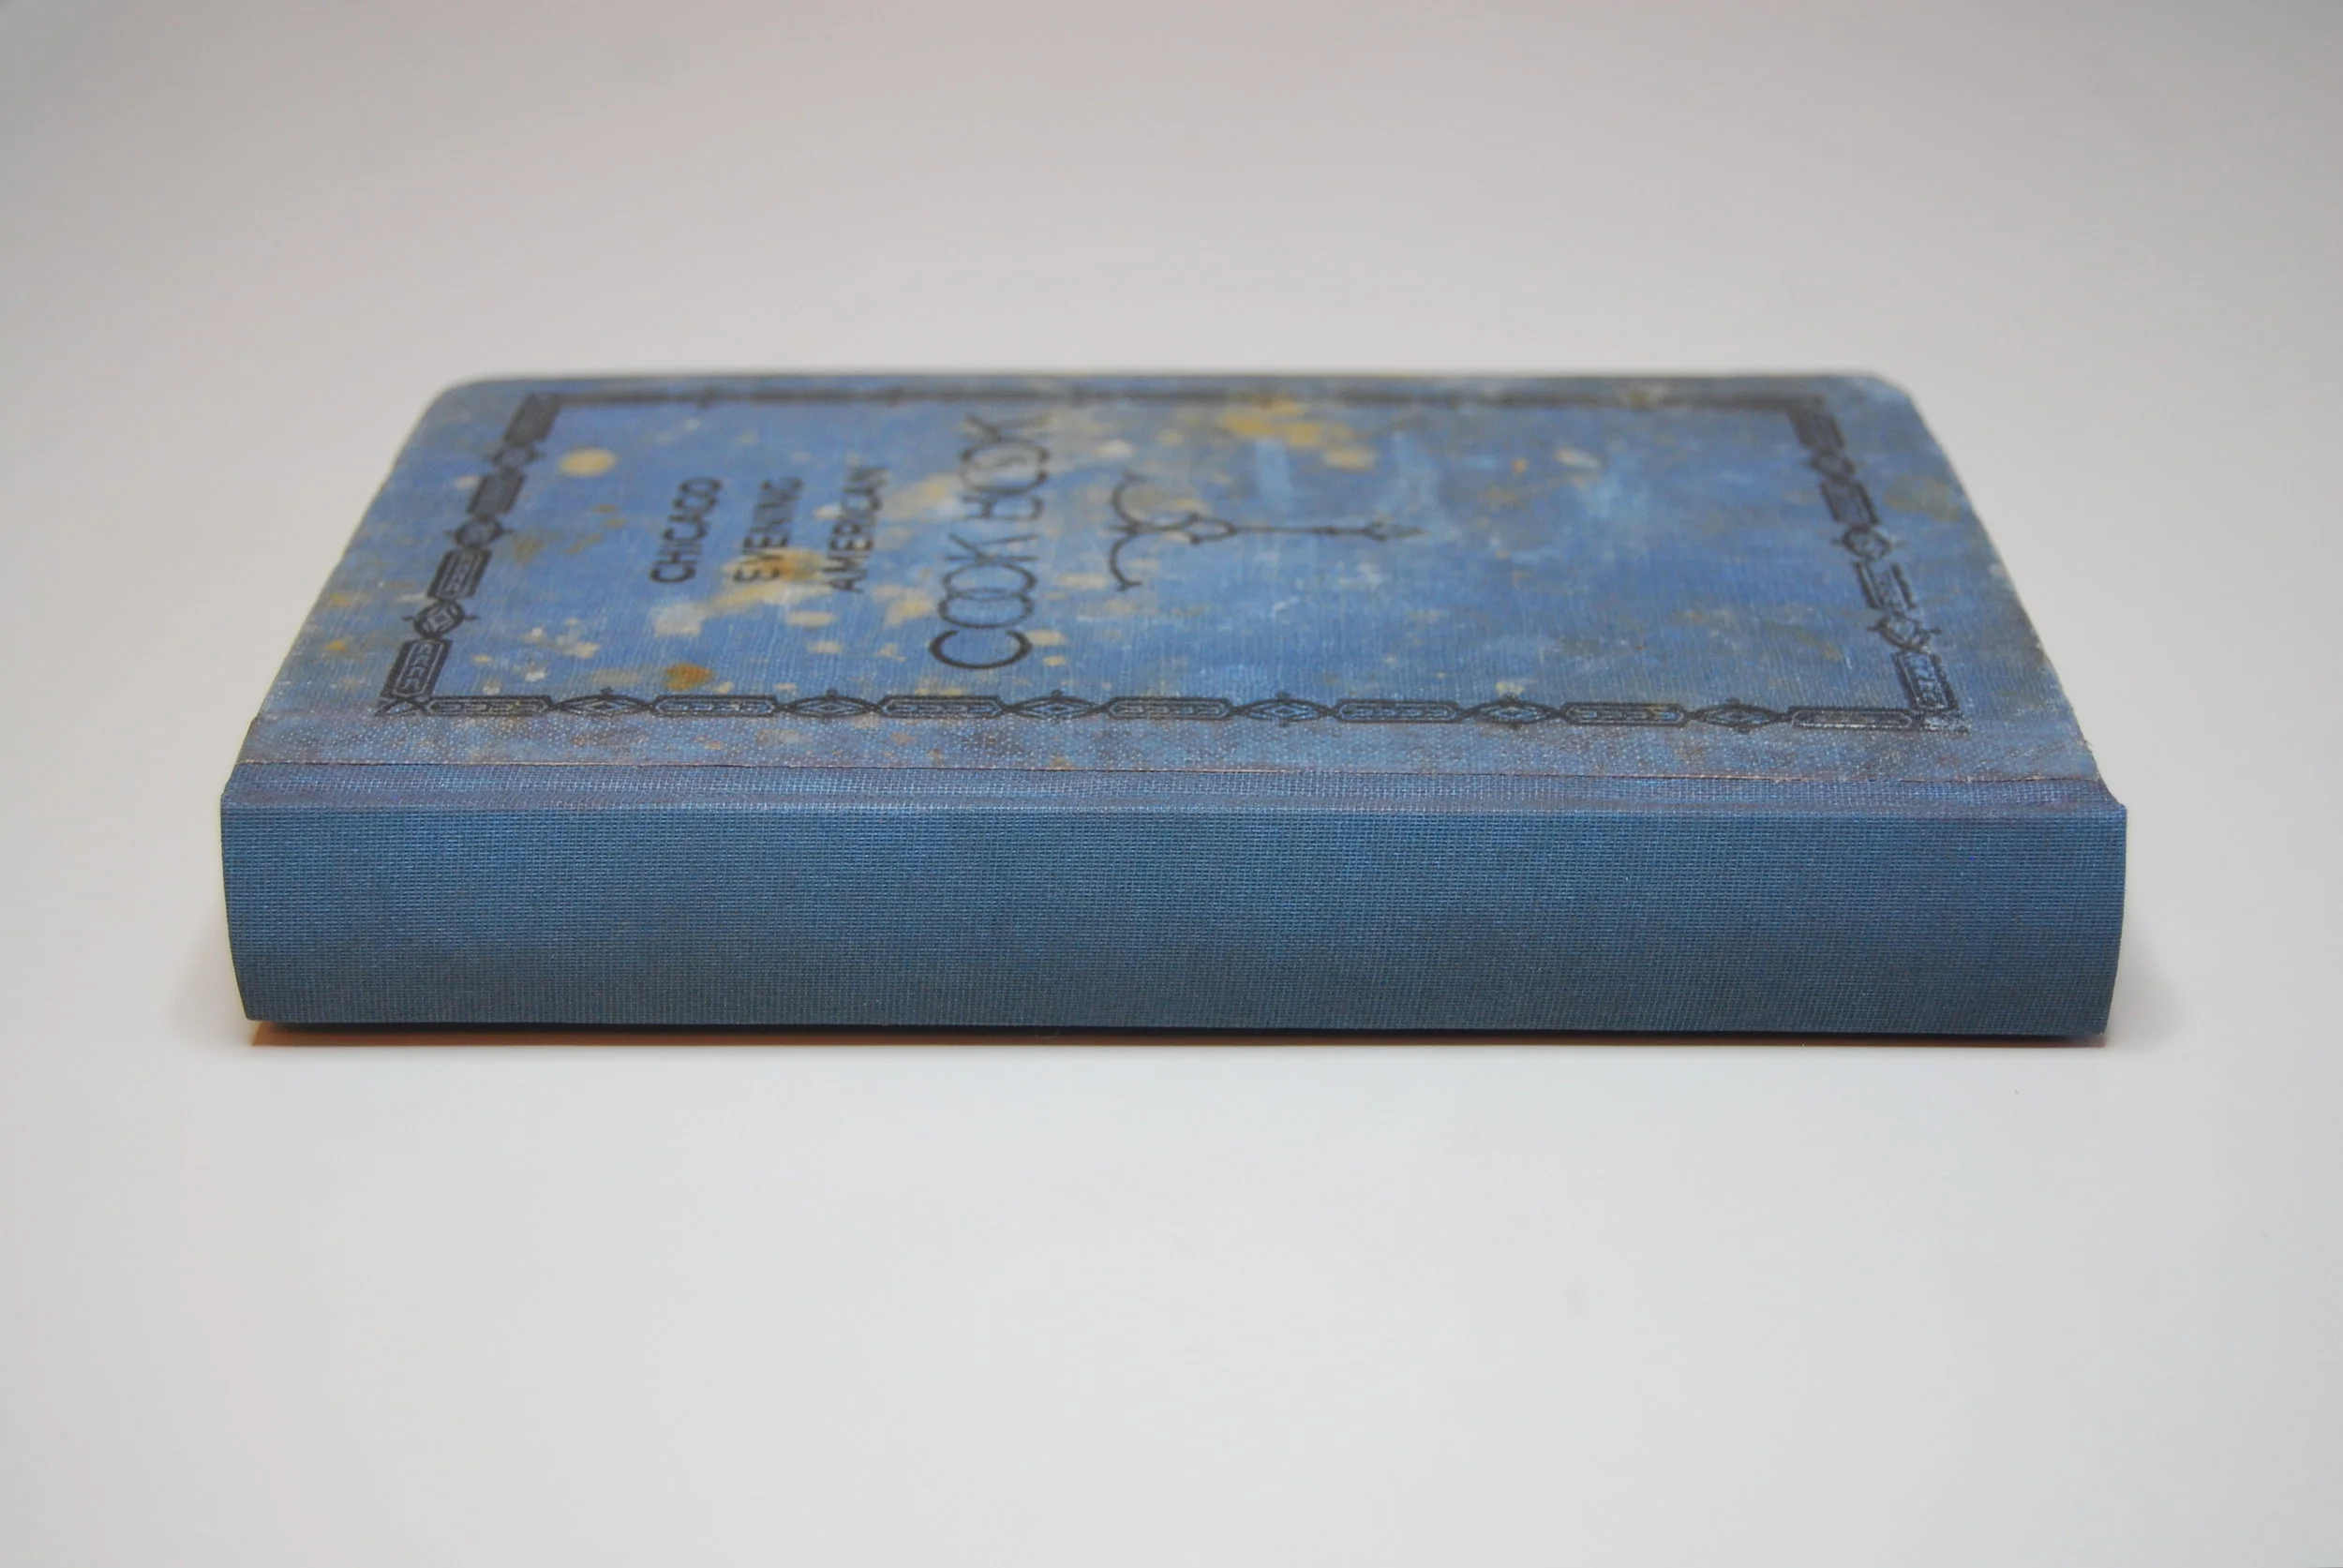
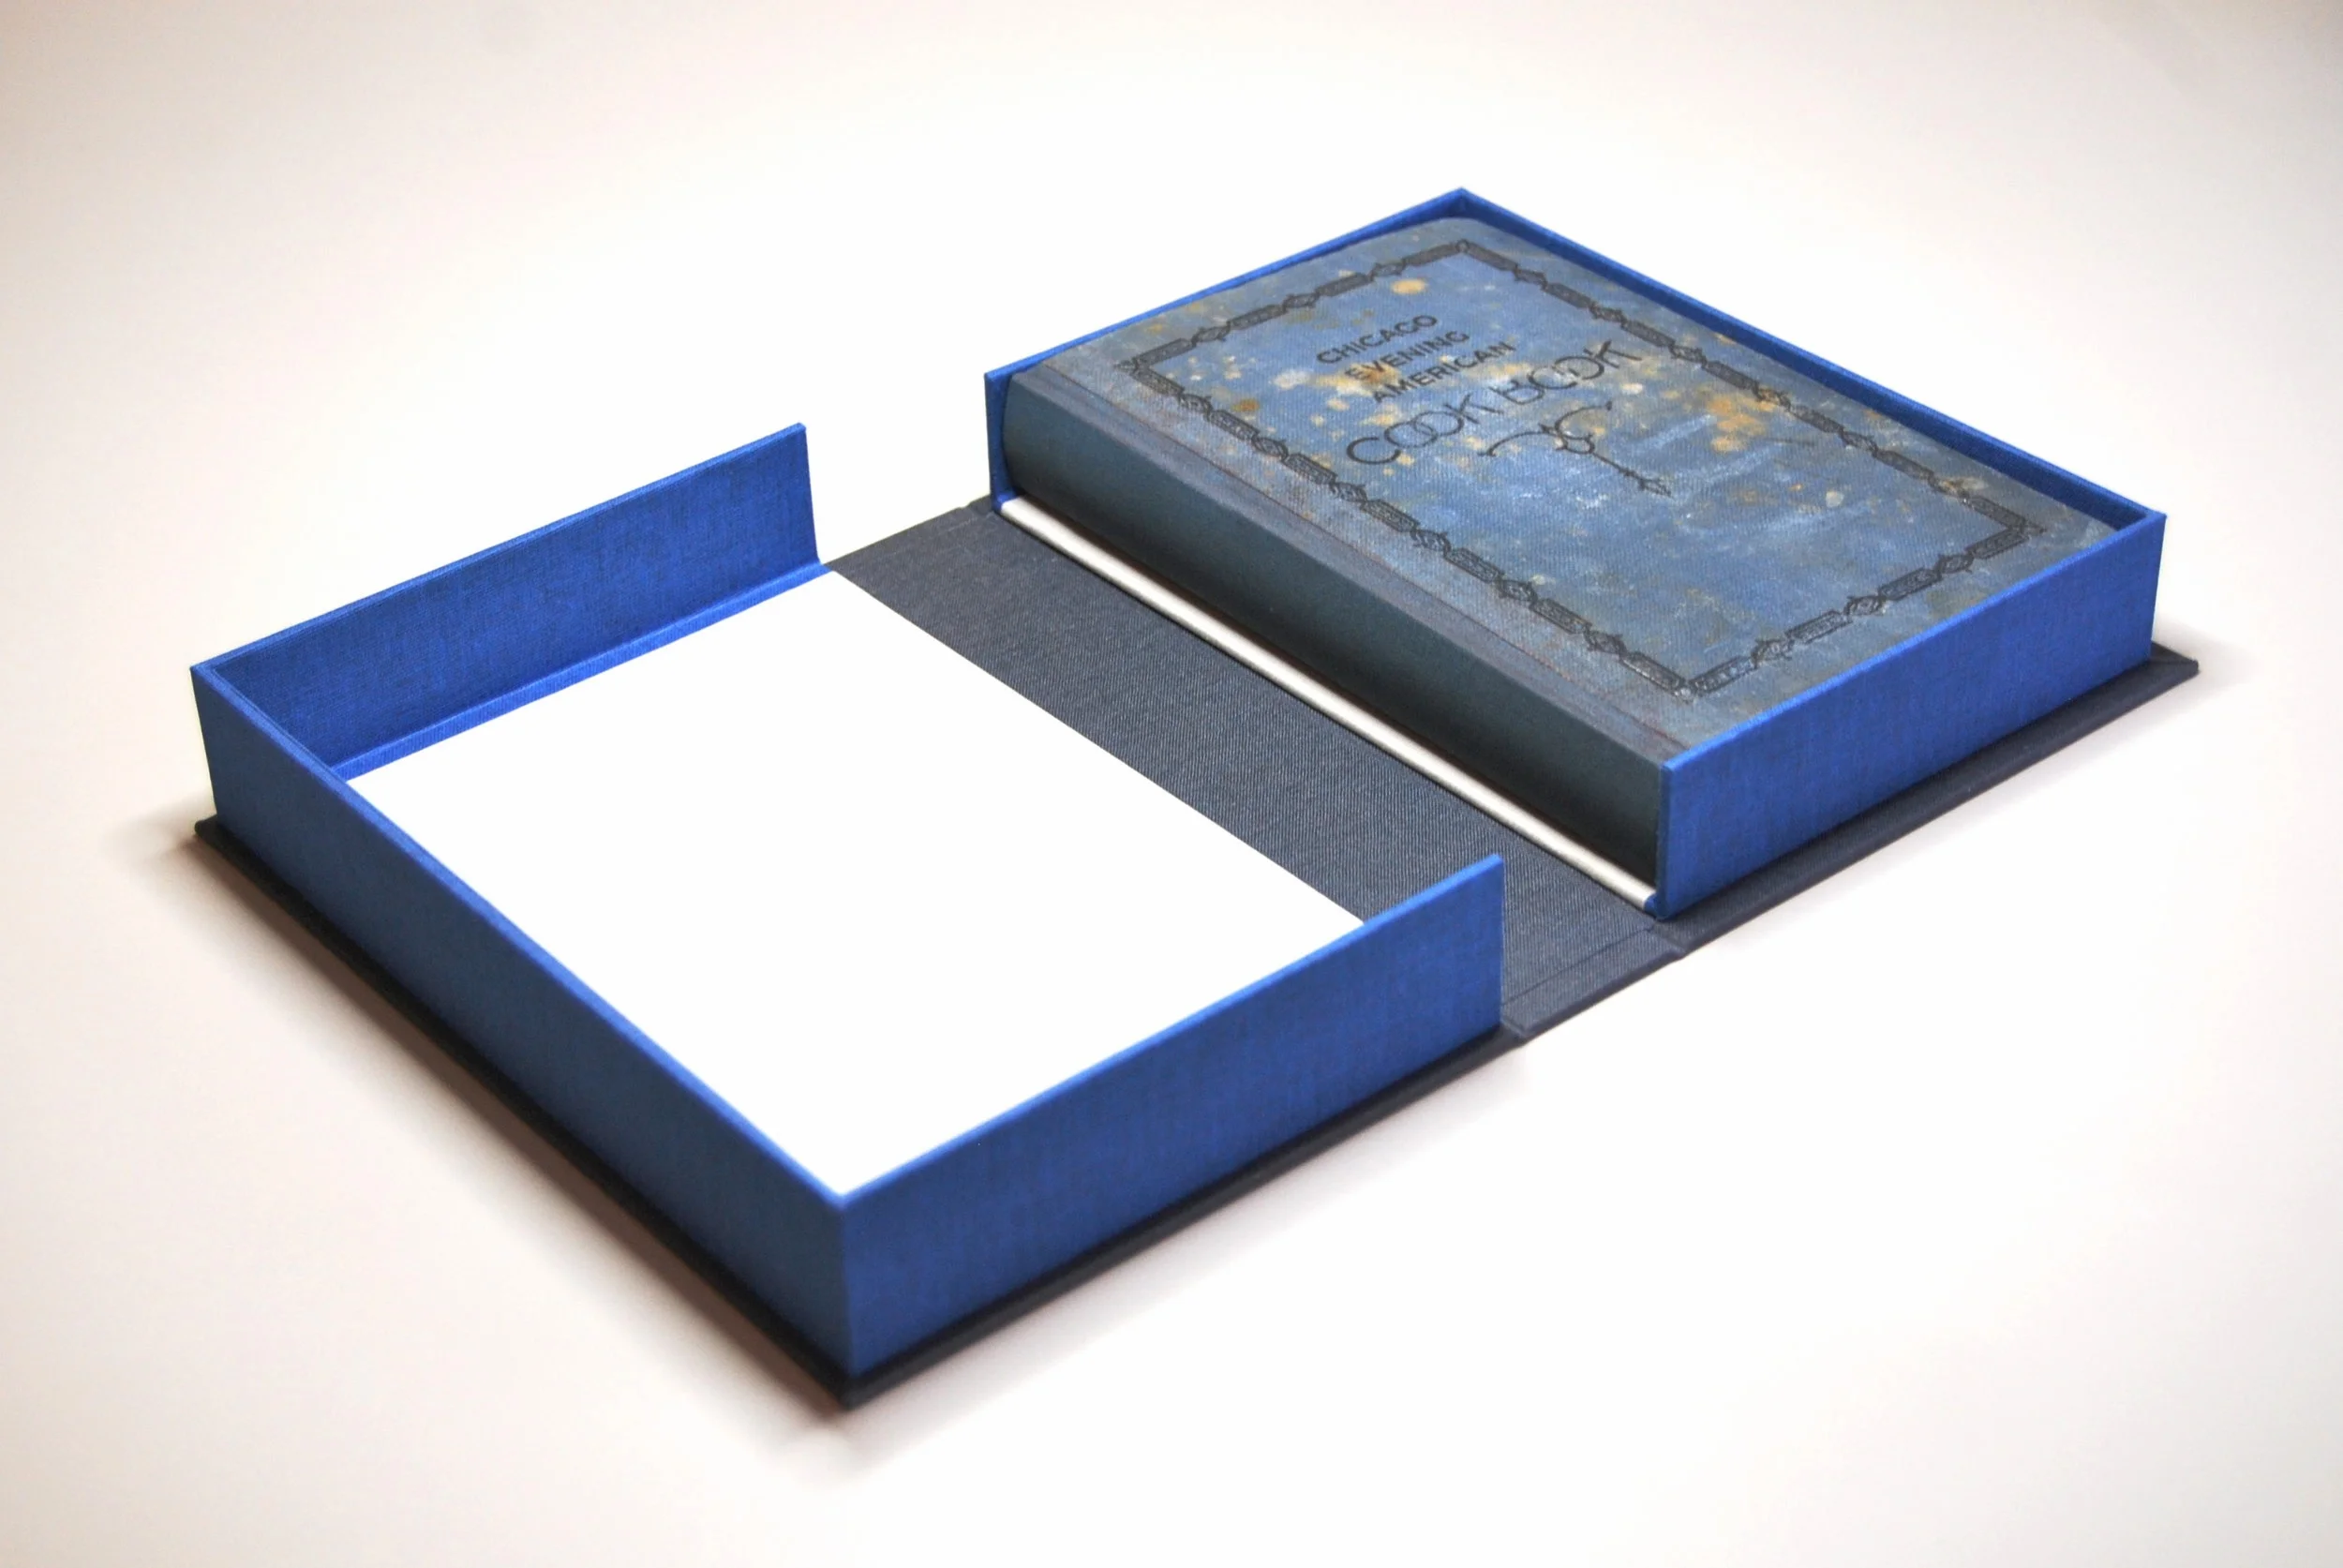
Finished book and the custom made clamshell box I made--now ready for the shelf again.